The fastest way to improve against bosses
Spend the first pattern cycle observing rather than forcing damage. Identify which movements are approach, area denial, projectile, summon, invulnerability, or recovery actions. Once a reliable recovery window is visible, use a short sequence that still leaves enough time to exit before the next tell.
Bosses and attack references by stage
Each gallery is keyed to the matching NamuWiki section. Boss sprites and full-size pattern GIFs are kept separate so a small portrait is not stretched into an attack screenshot.
01Stage 1 - Mole Base
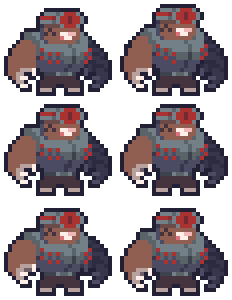
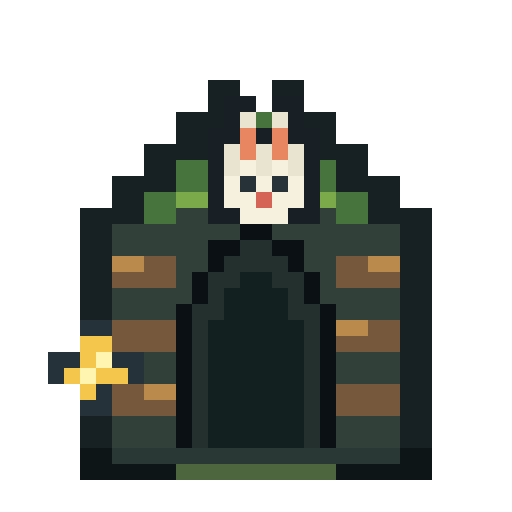
Blackhand Mogdi
The first boss has a second phase after its initial stamina bar is emptied. Treat the transition as a new pattern cycle instead of assuming the opening phase is the whole fight.
View 1 matching reference

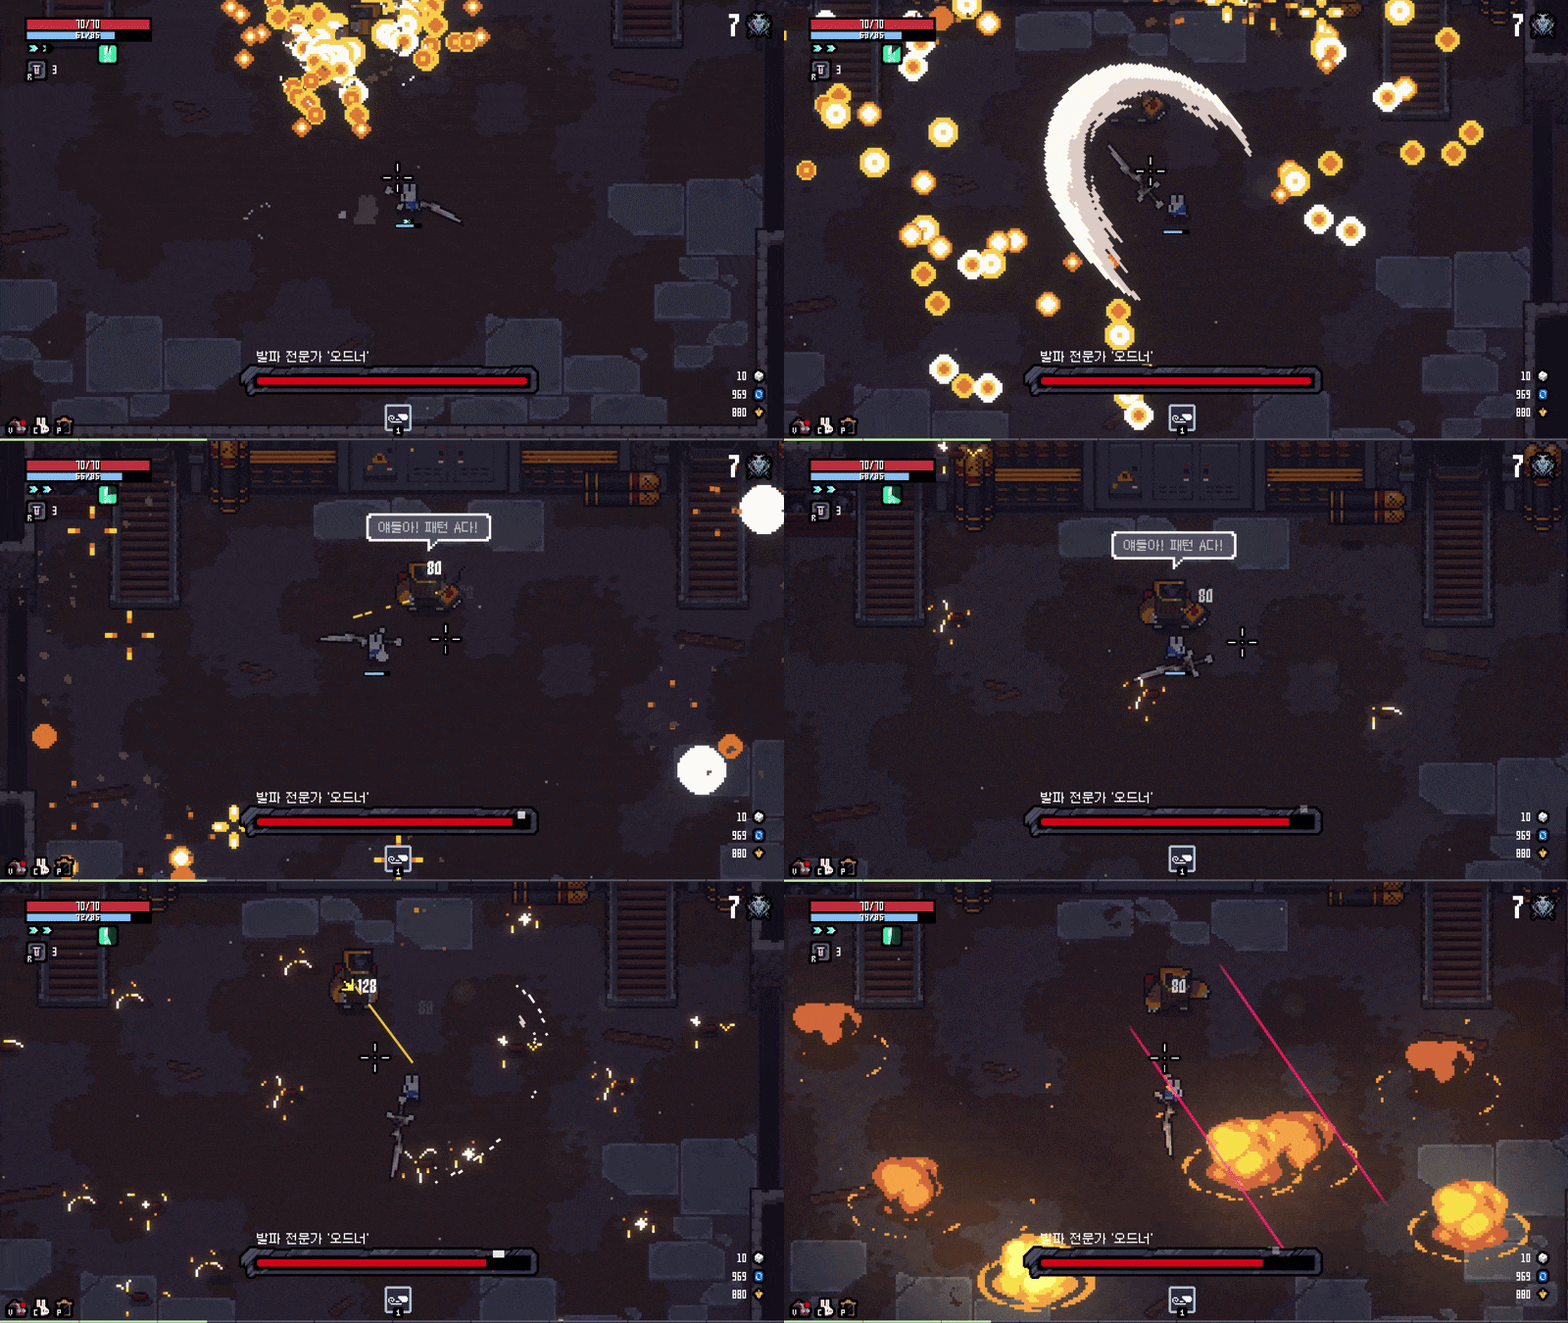
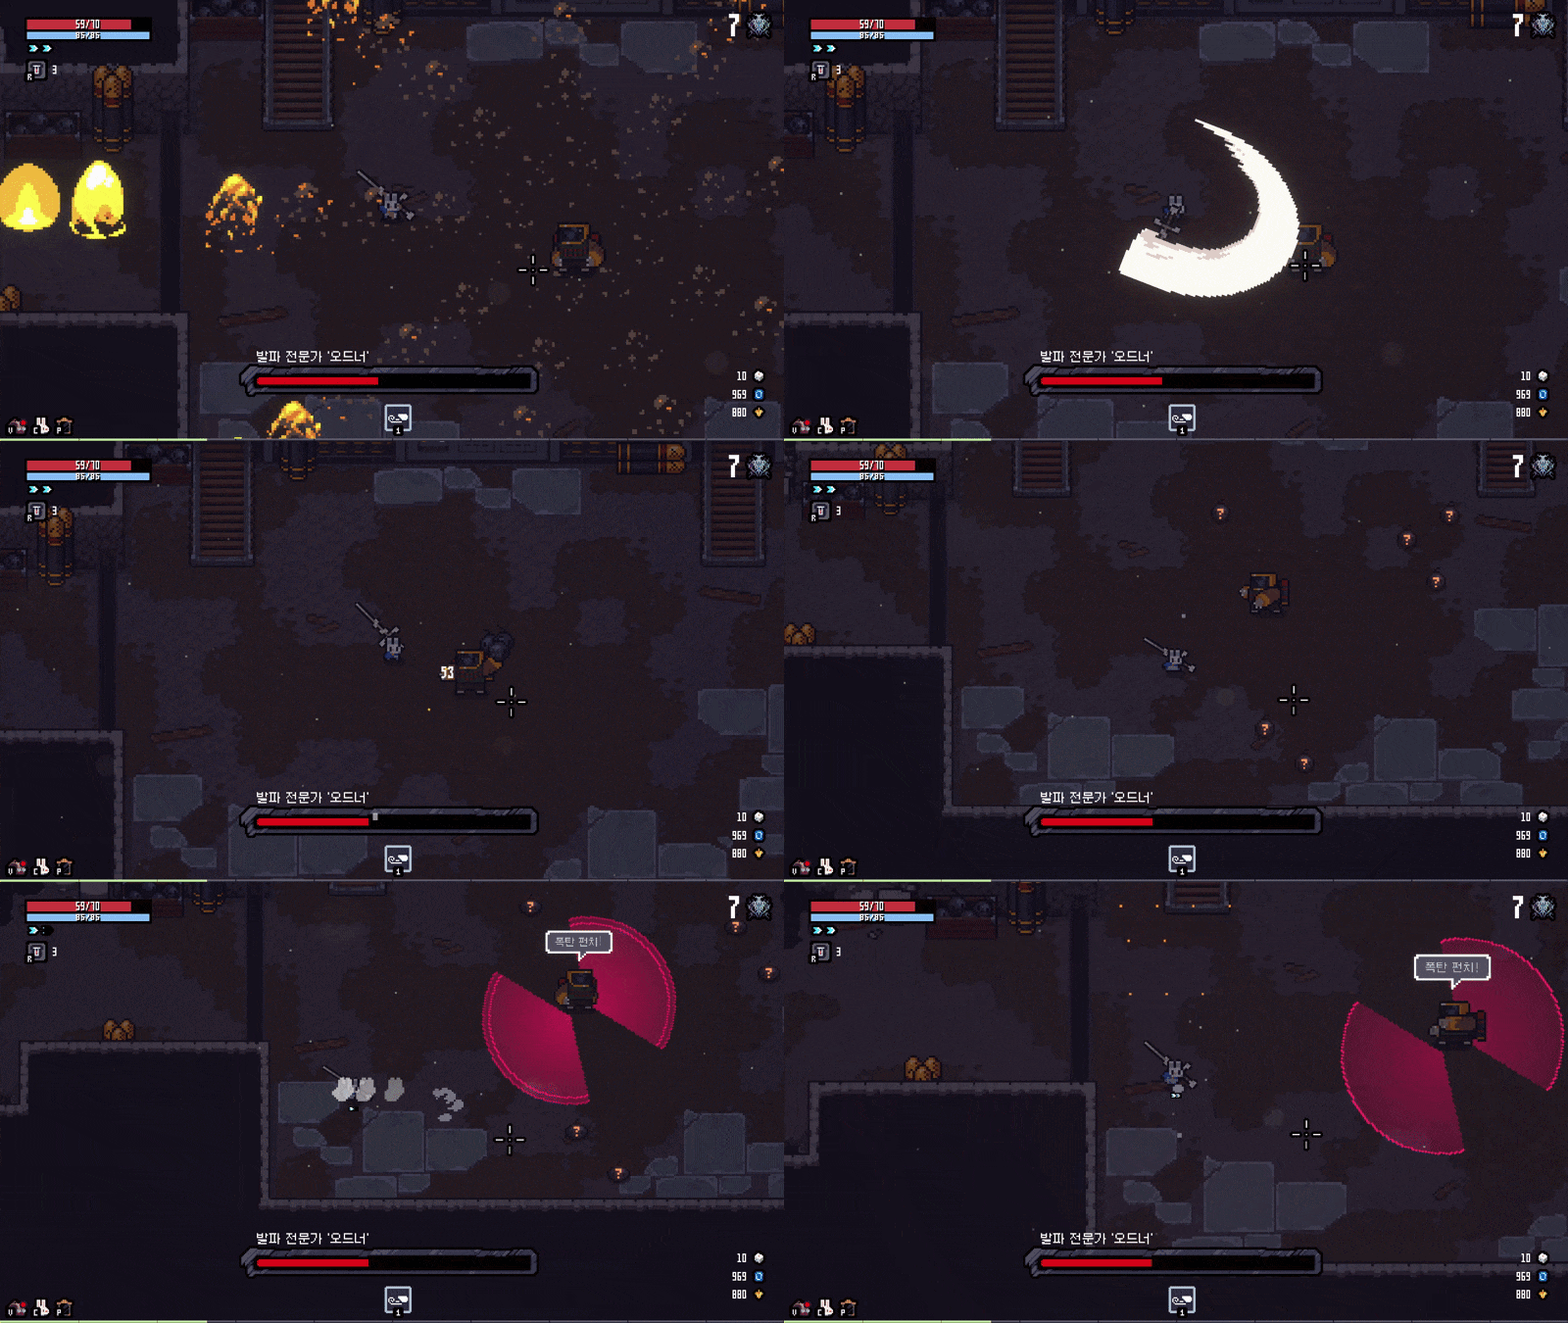
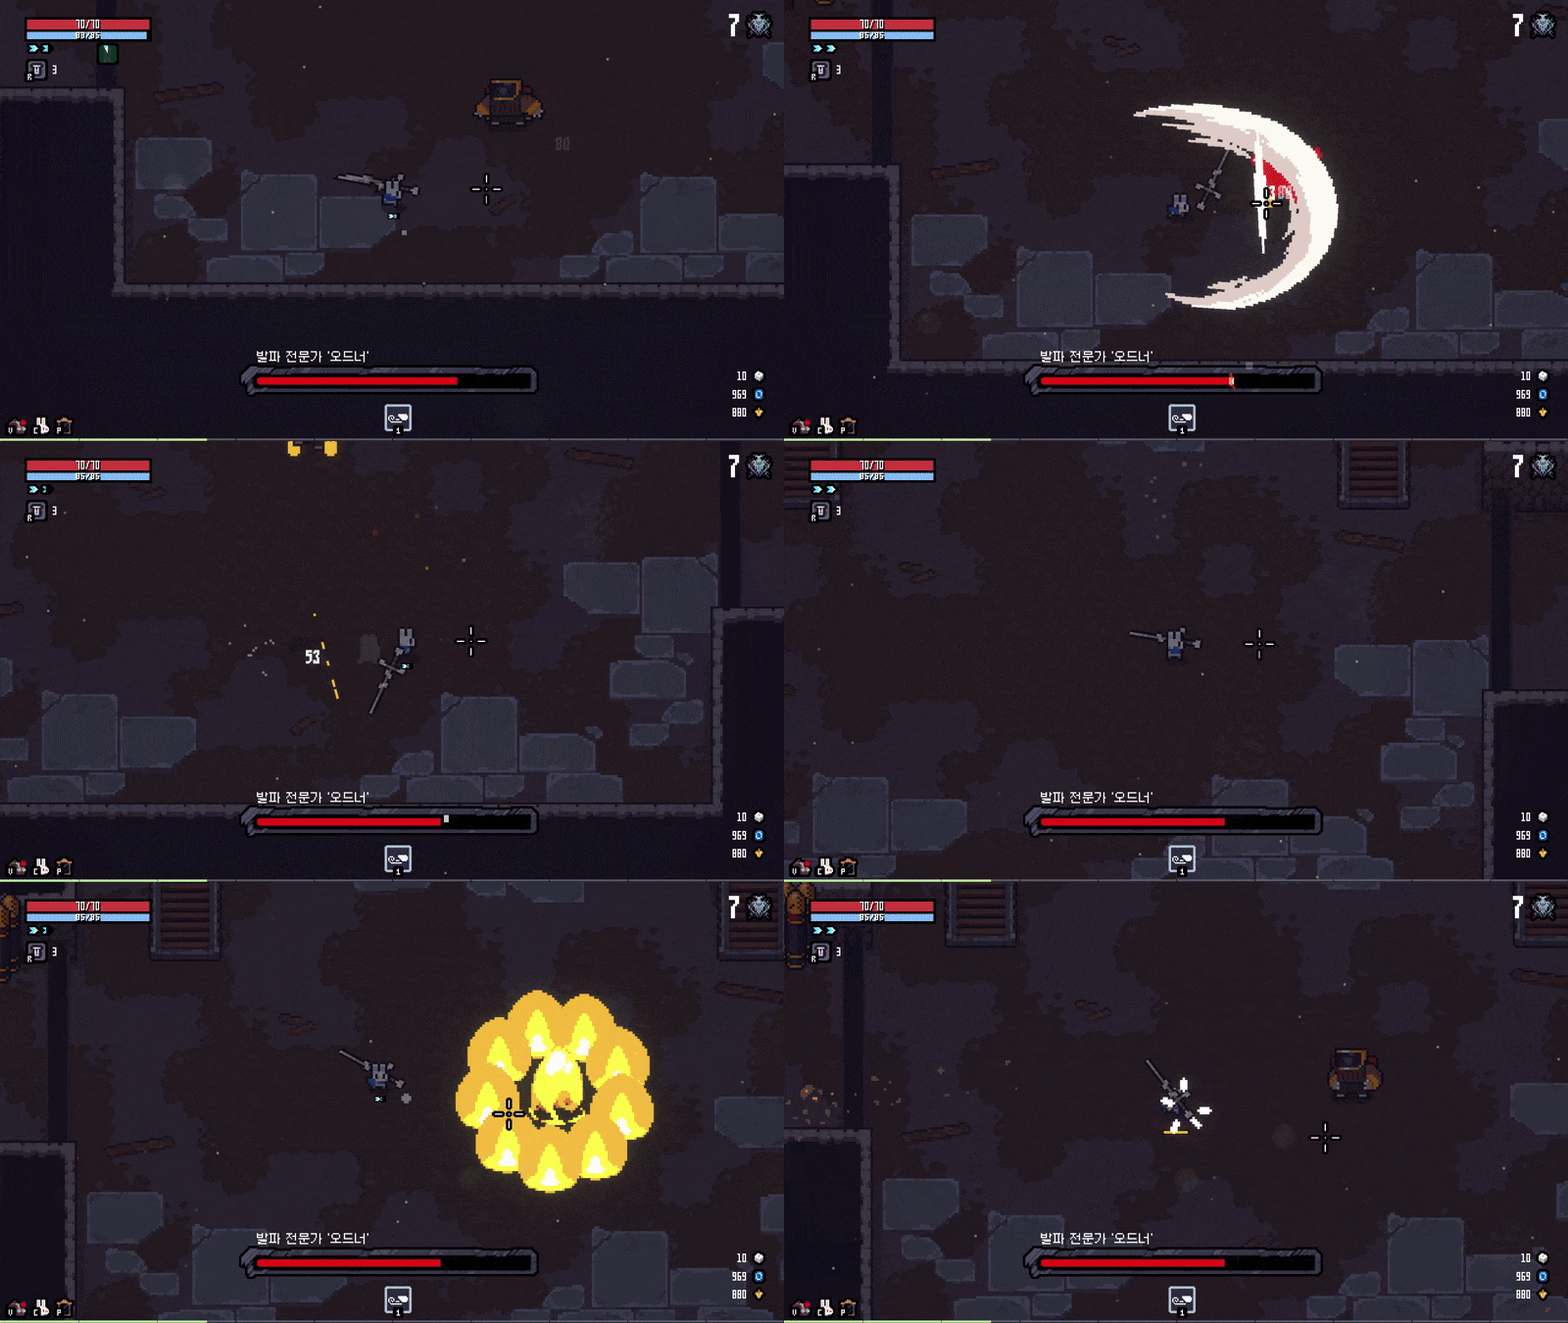
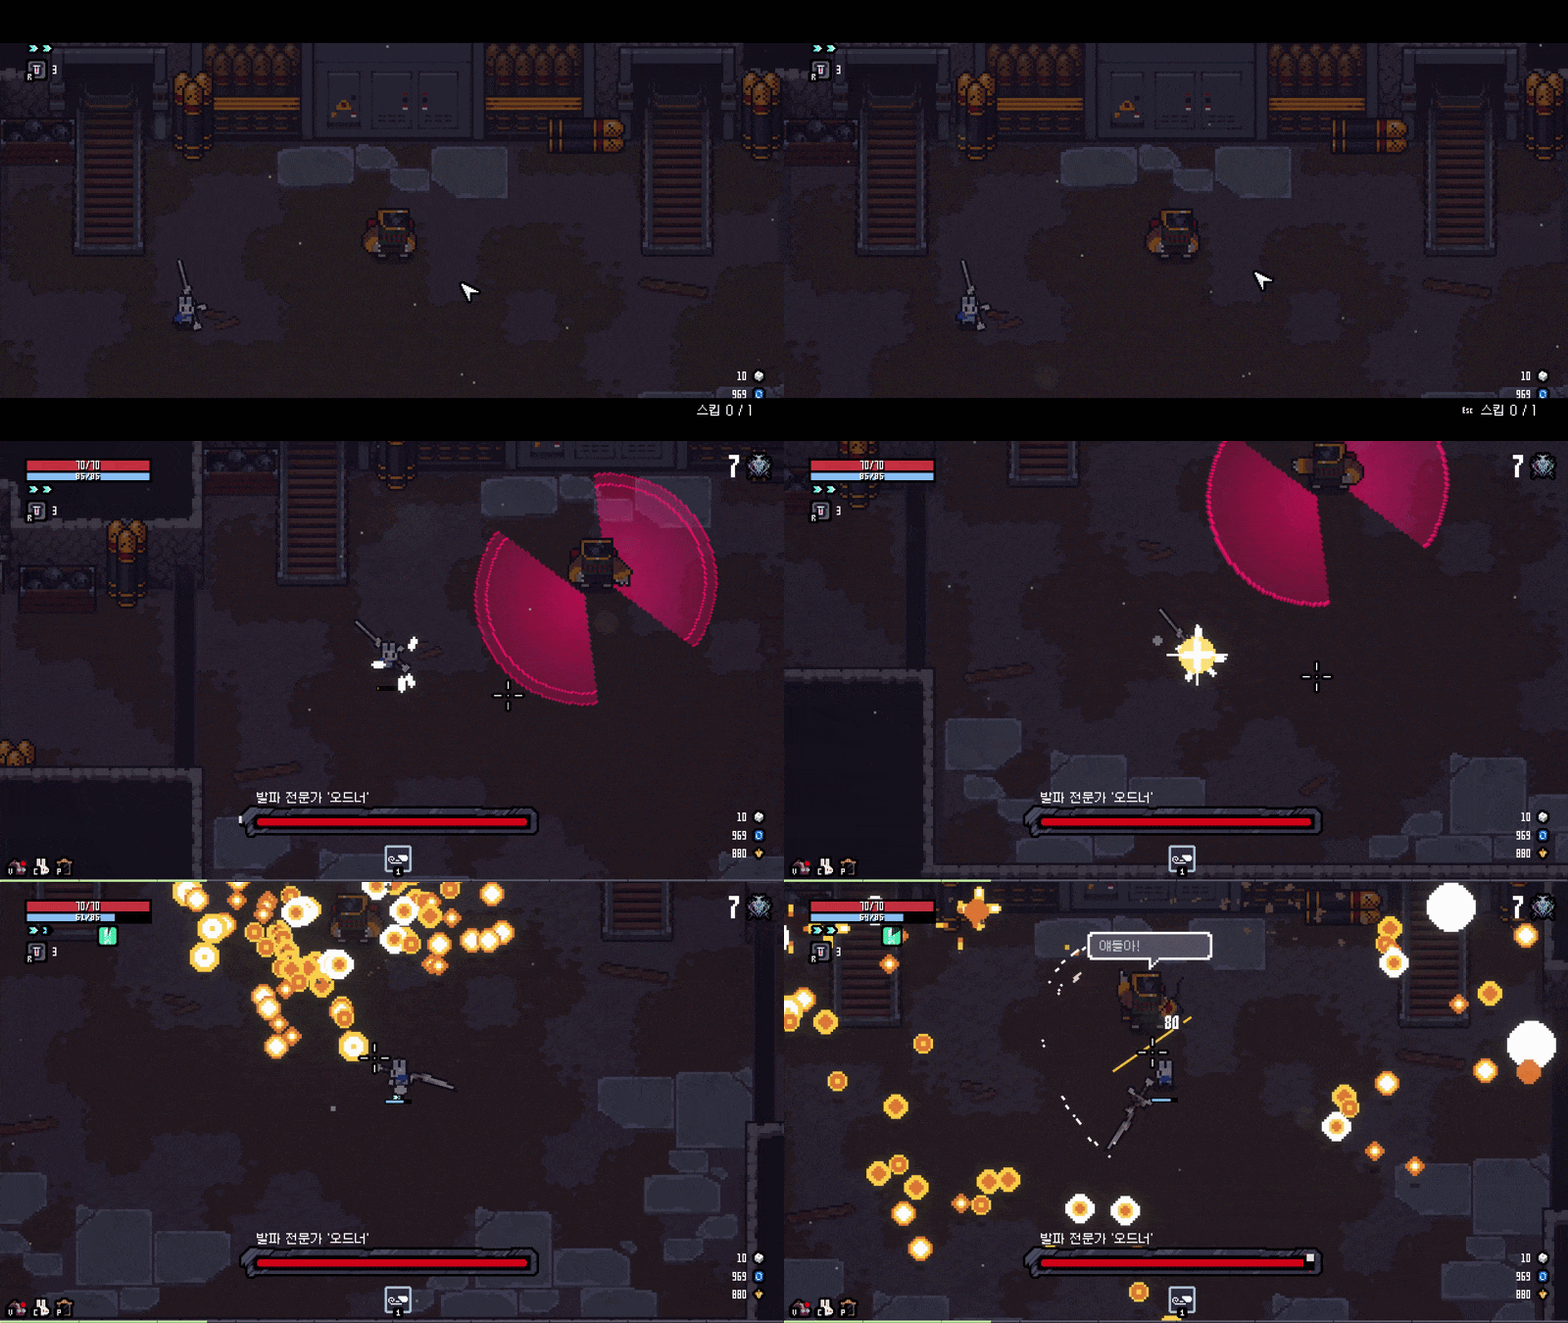
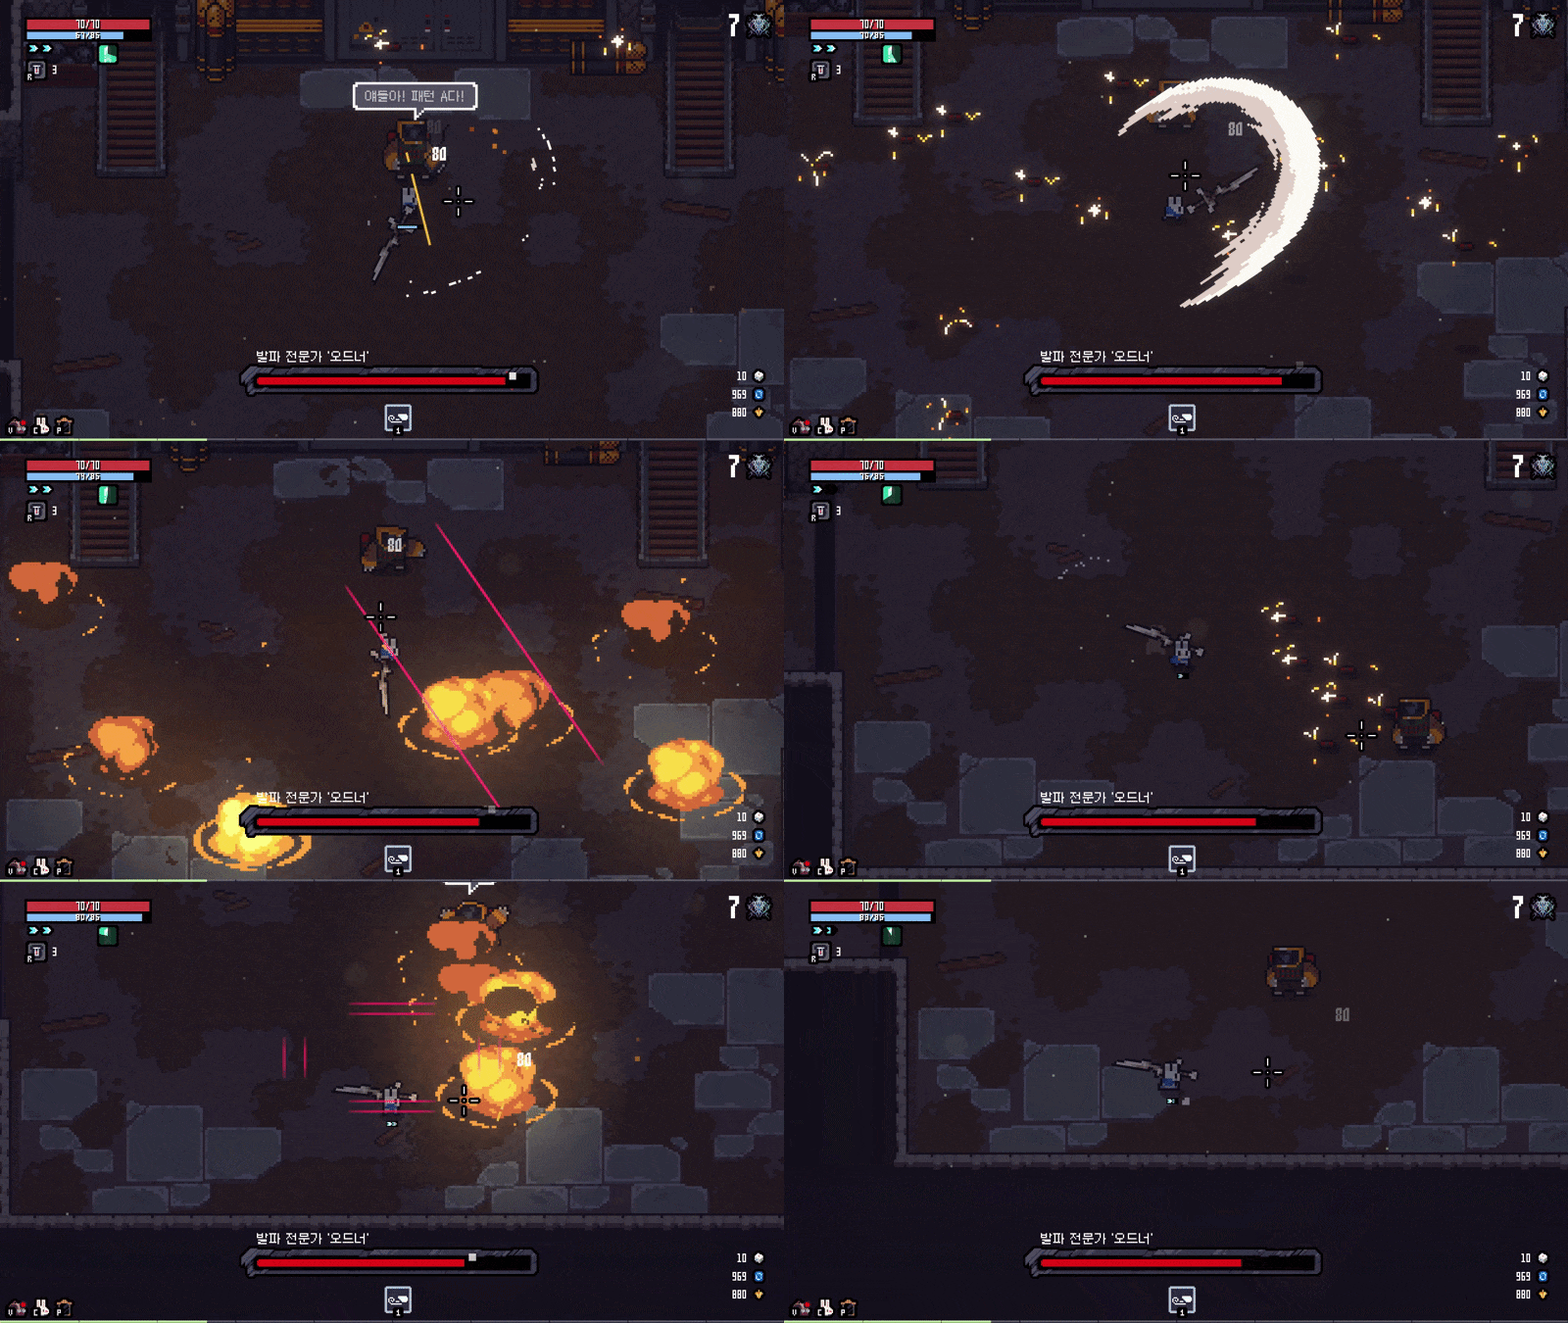
Ordner
The archive records five patterns: falling dynamite, marked bombs, an eight-way landing blast, a wide fan barrage, and active dash or jump pressure. Keep open floor for delayed explosions.
View 6 matching references

Haj
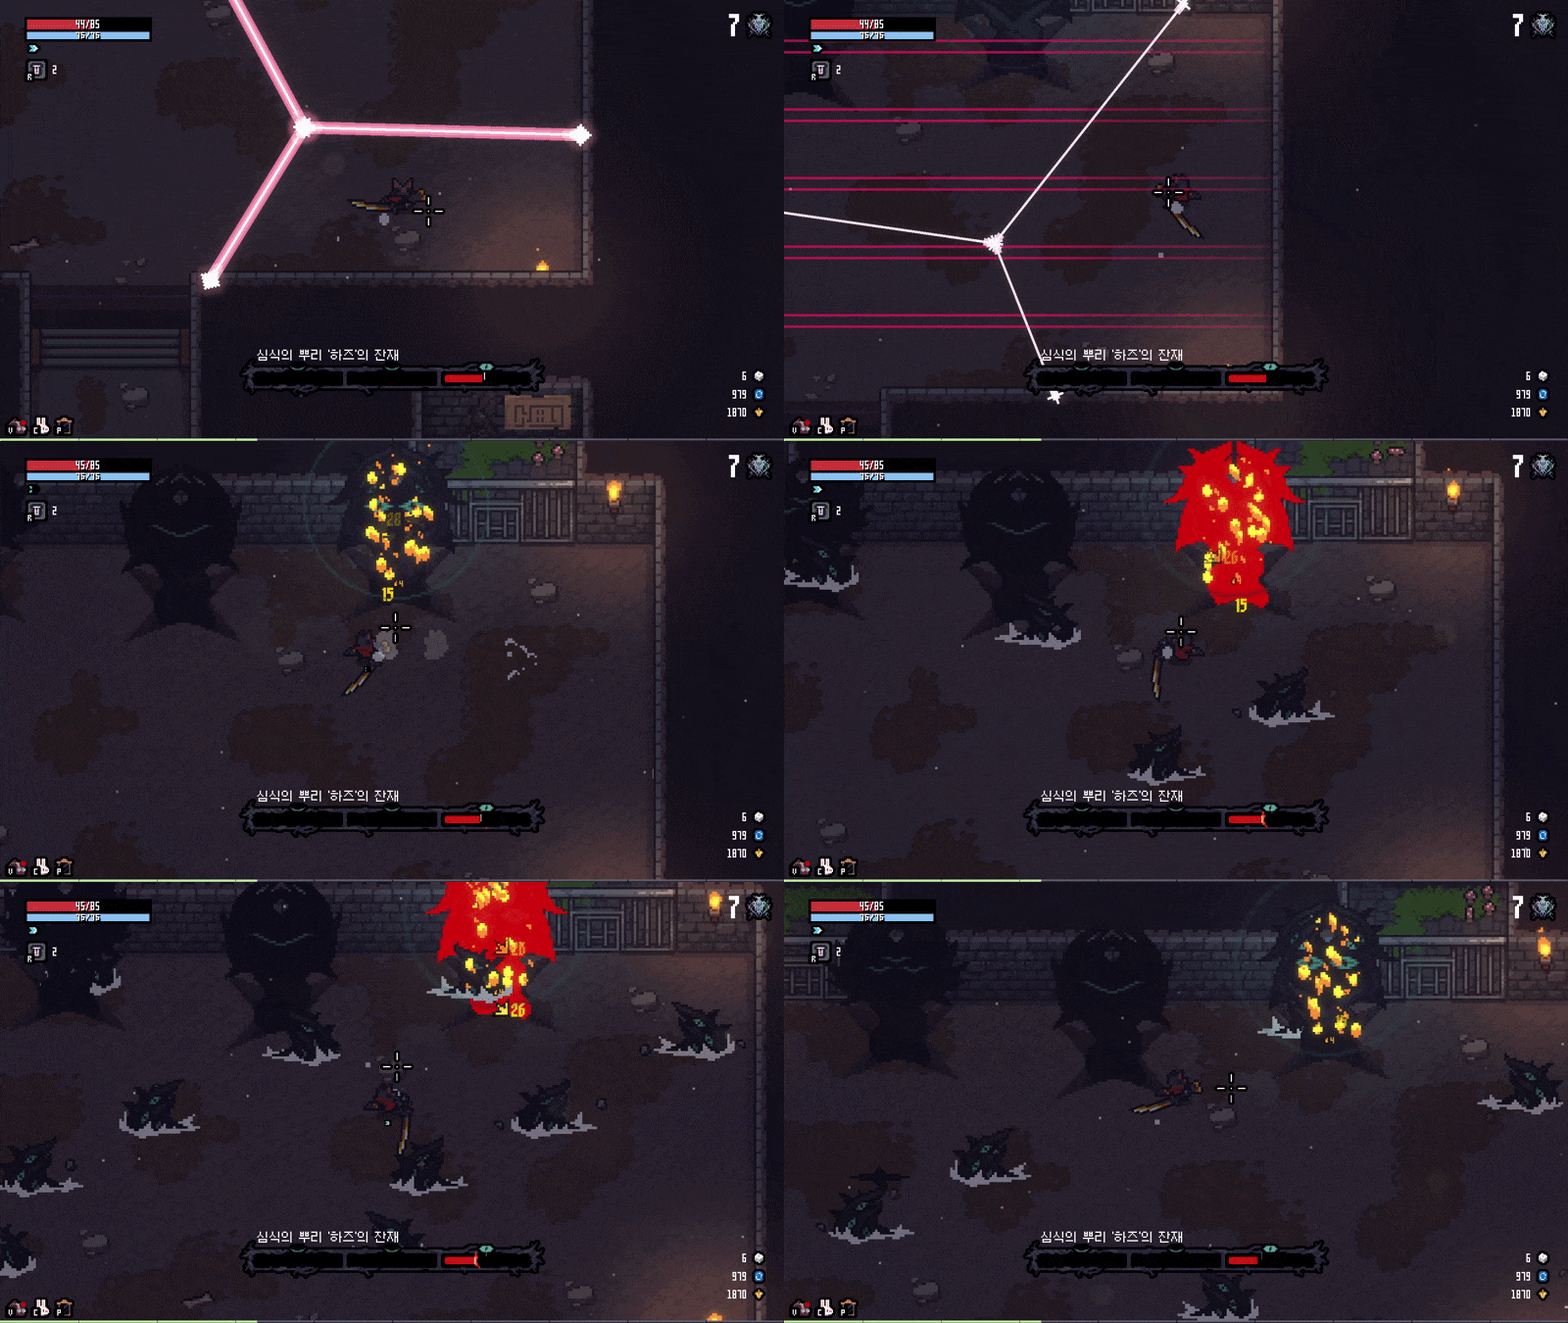
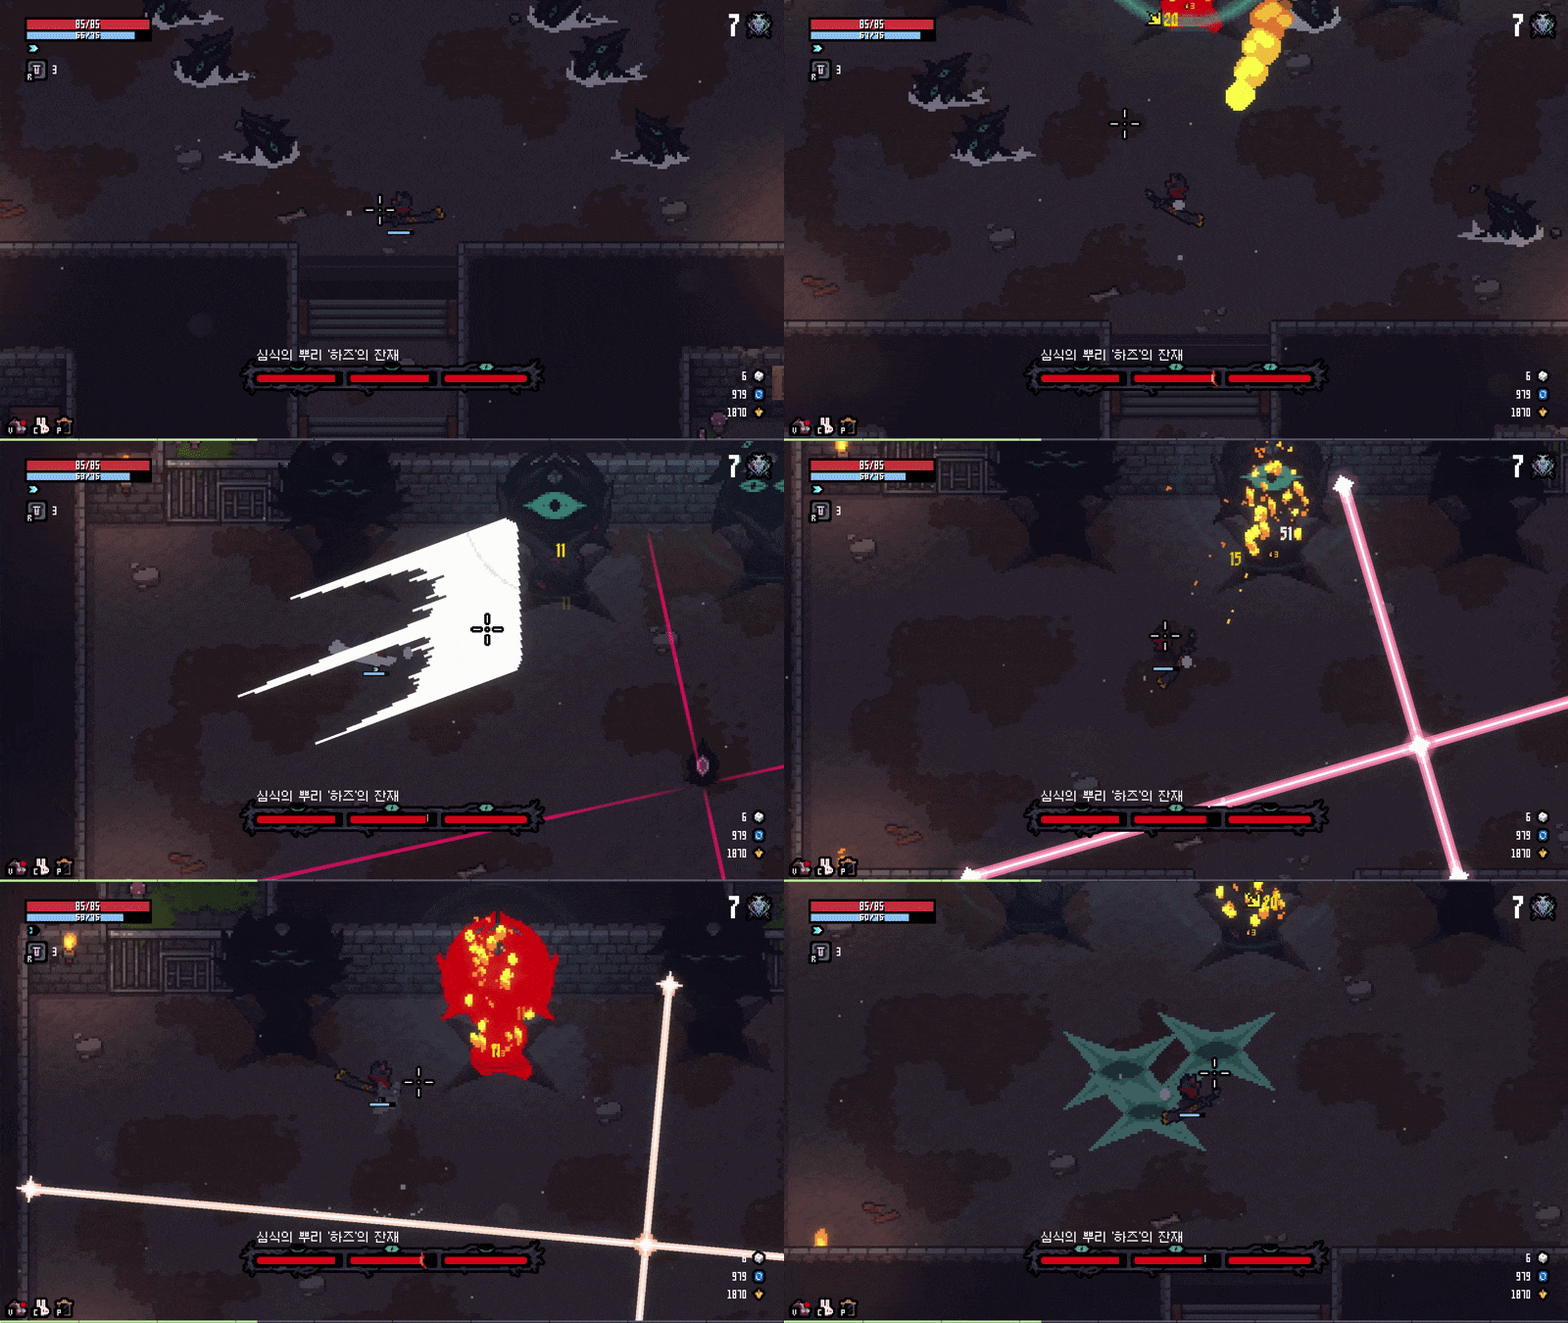
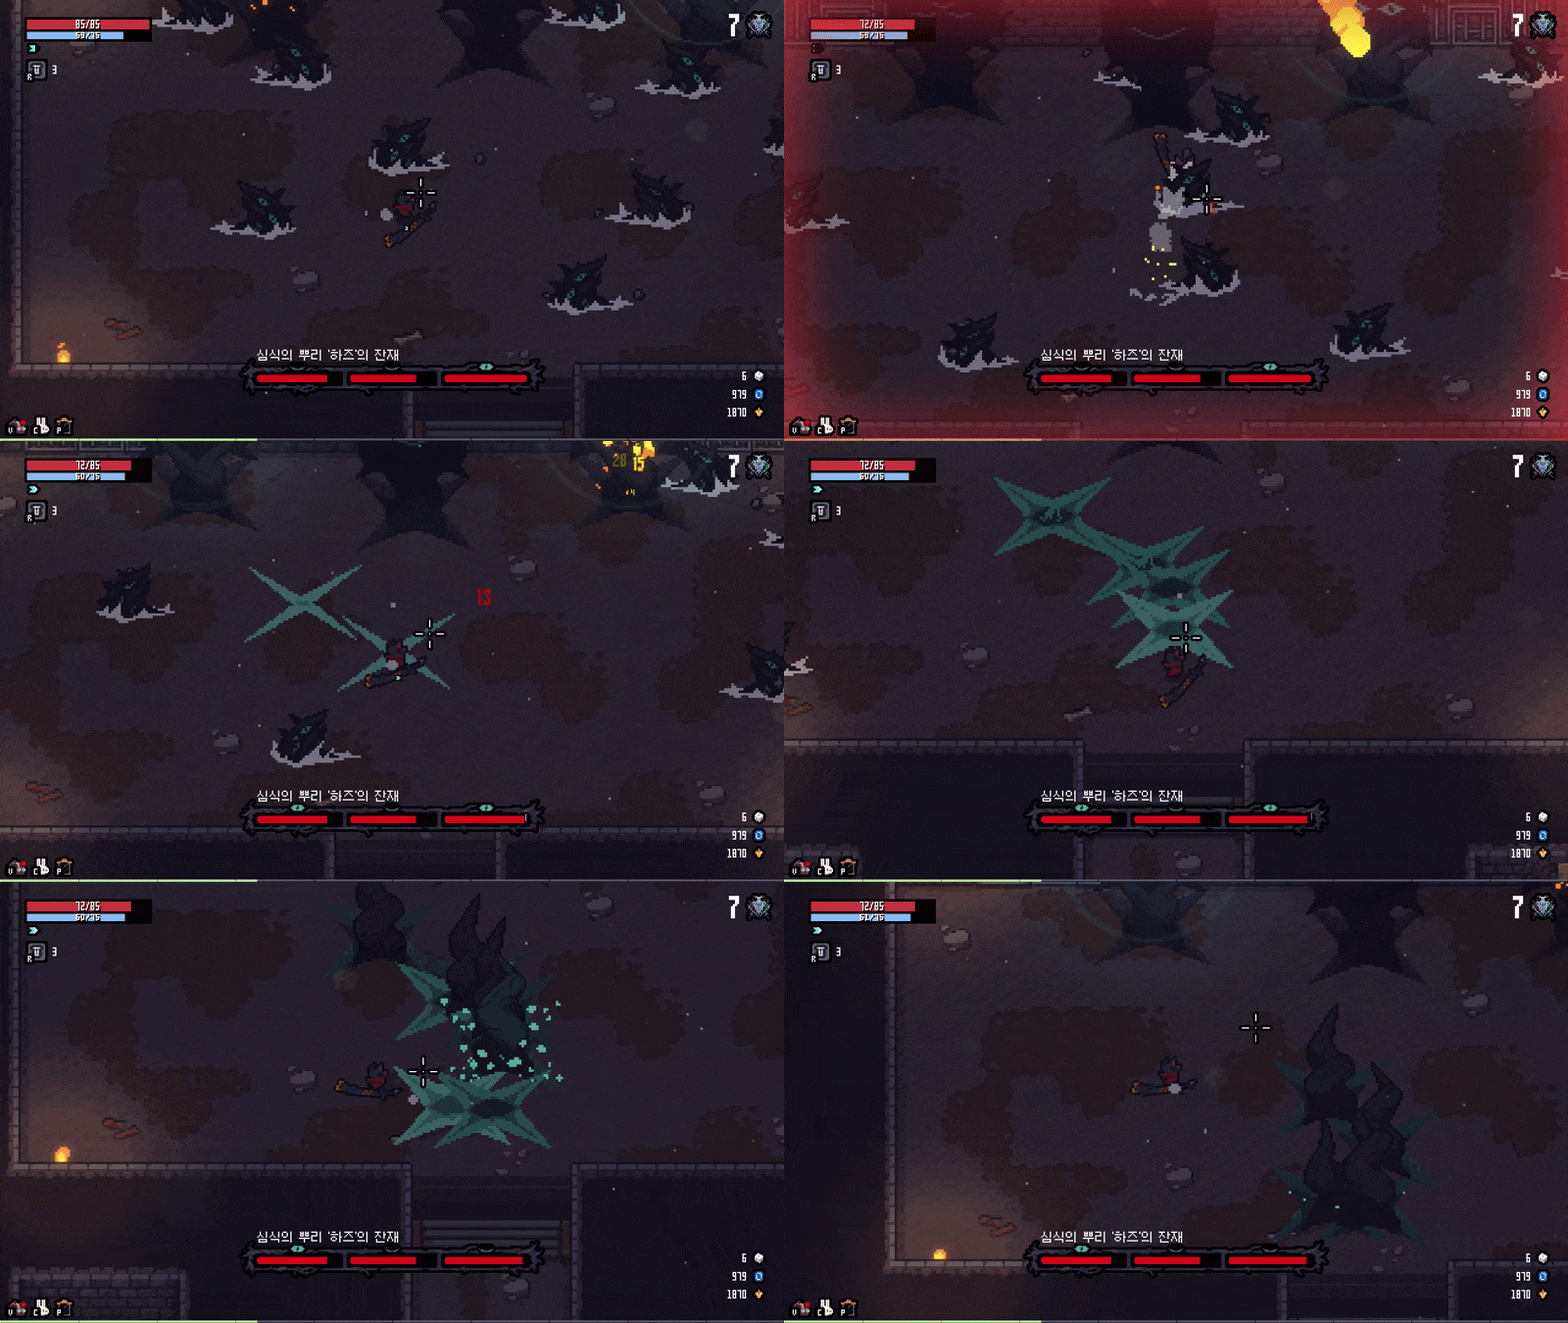
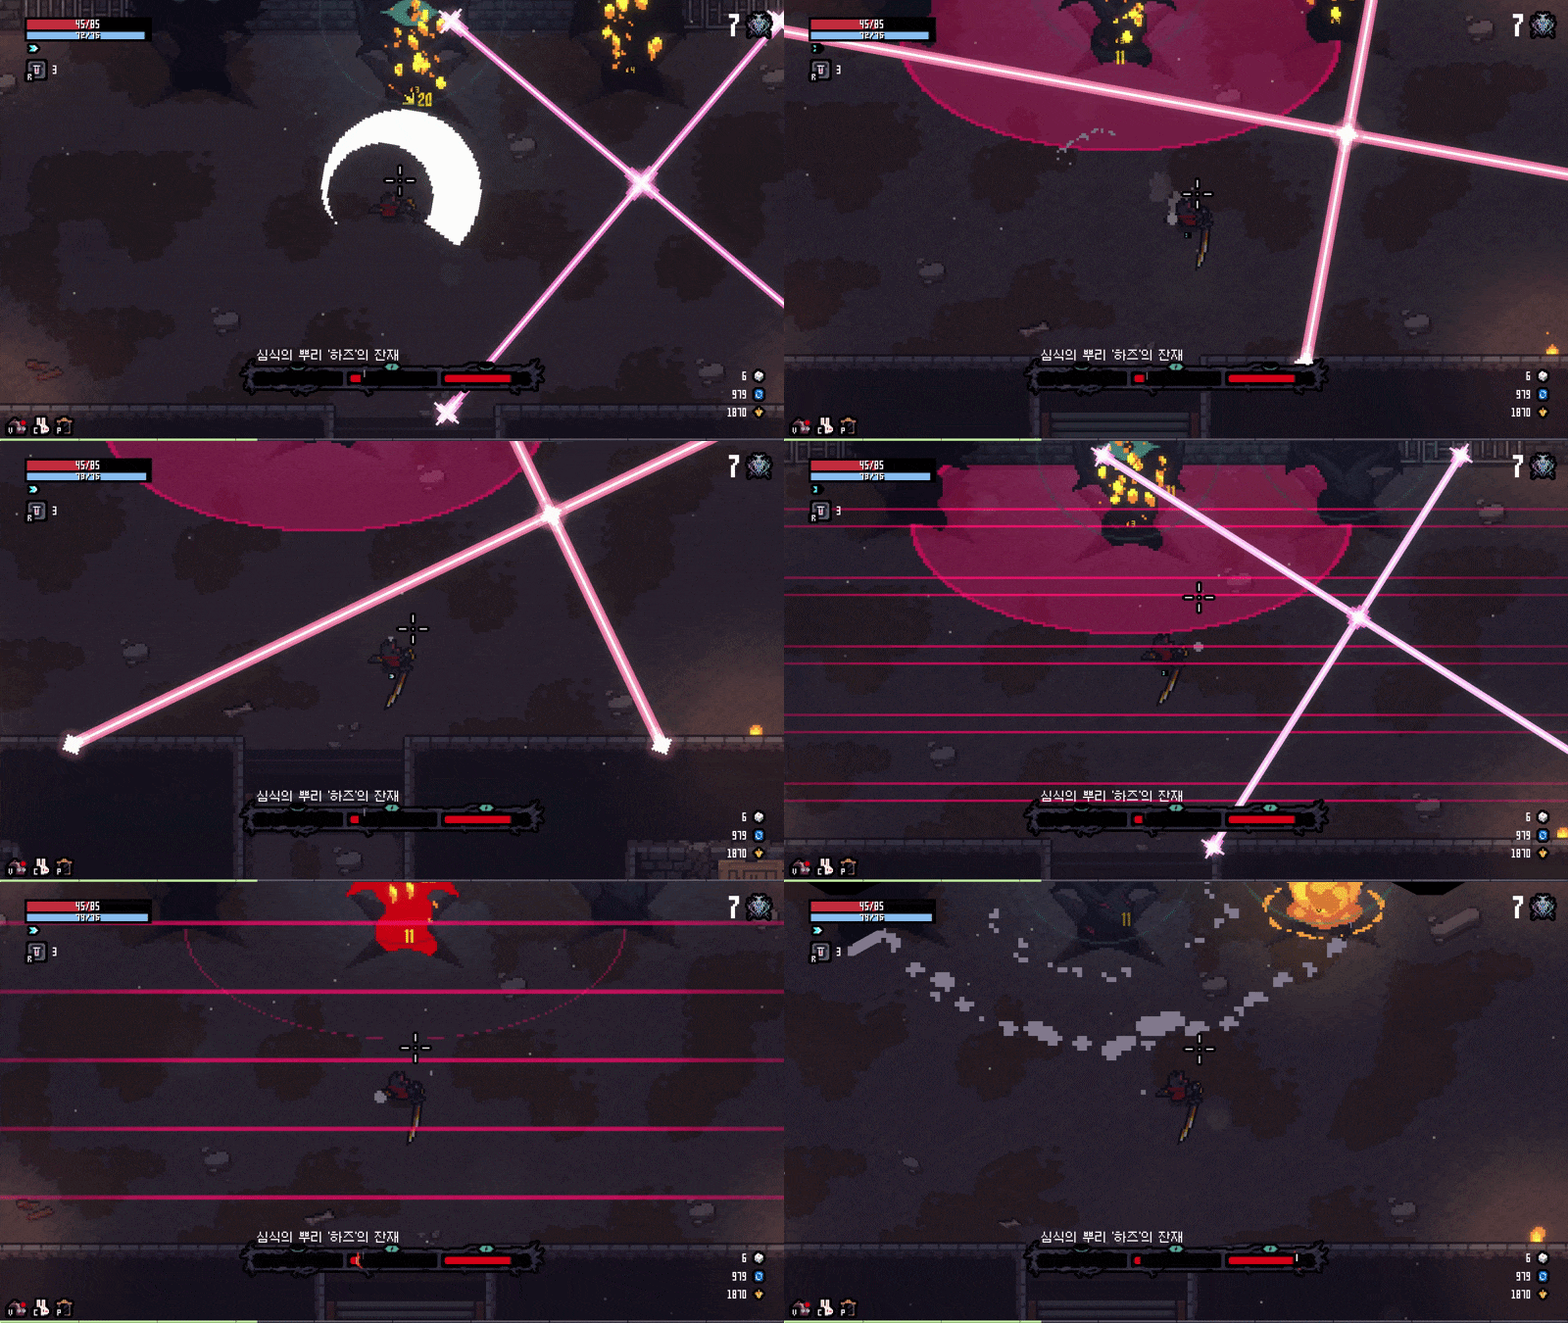
Three eyes have separate stamina and attack roles. The right sends moving bushes, the middle rotates laser beams, and the left creates roots after a warning; disabling an eye changes which eye opens next.
View 7 matching references


02Stage 2 - Grassland
Lataka
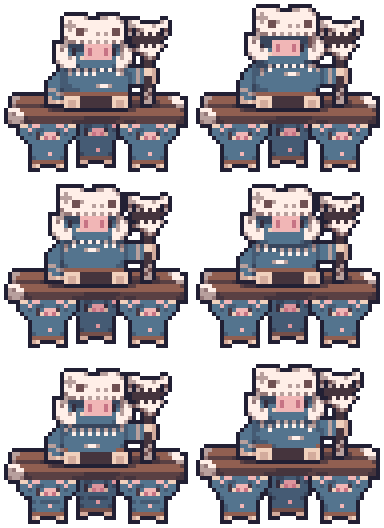
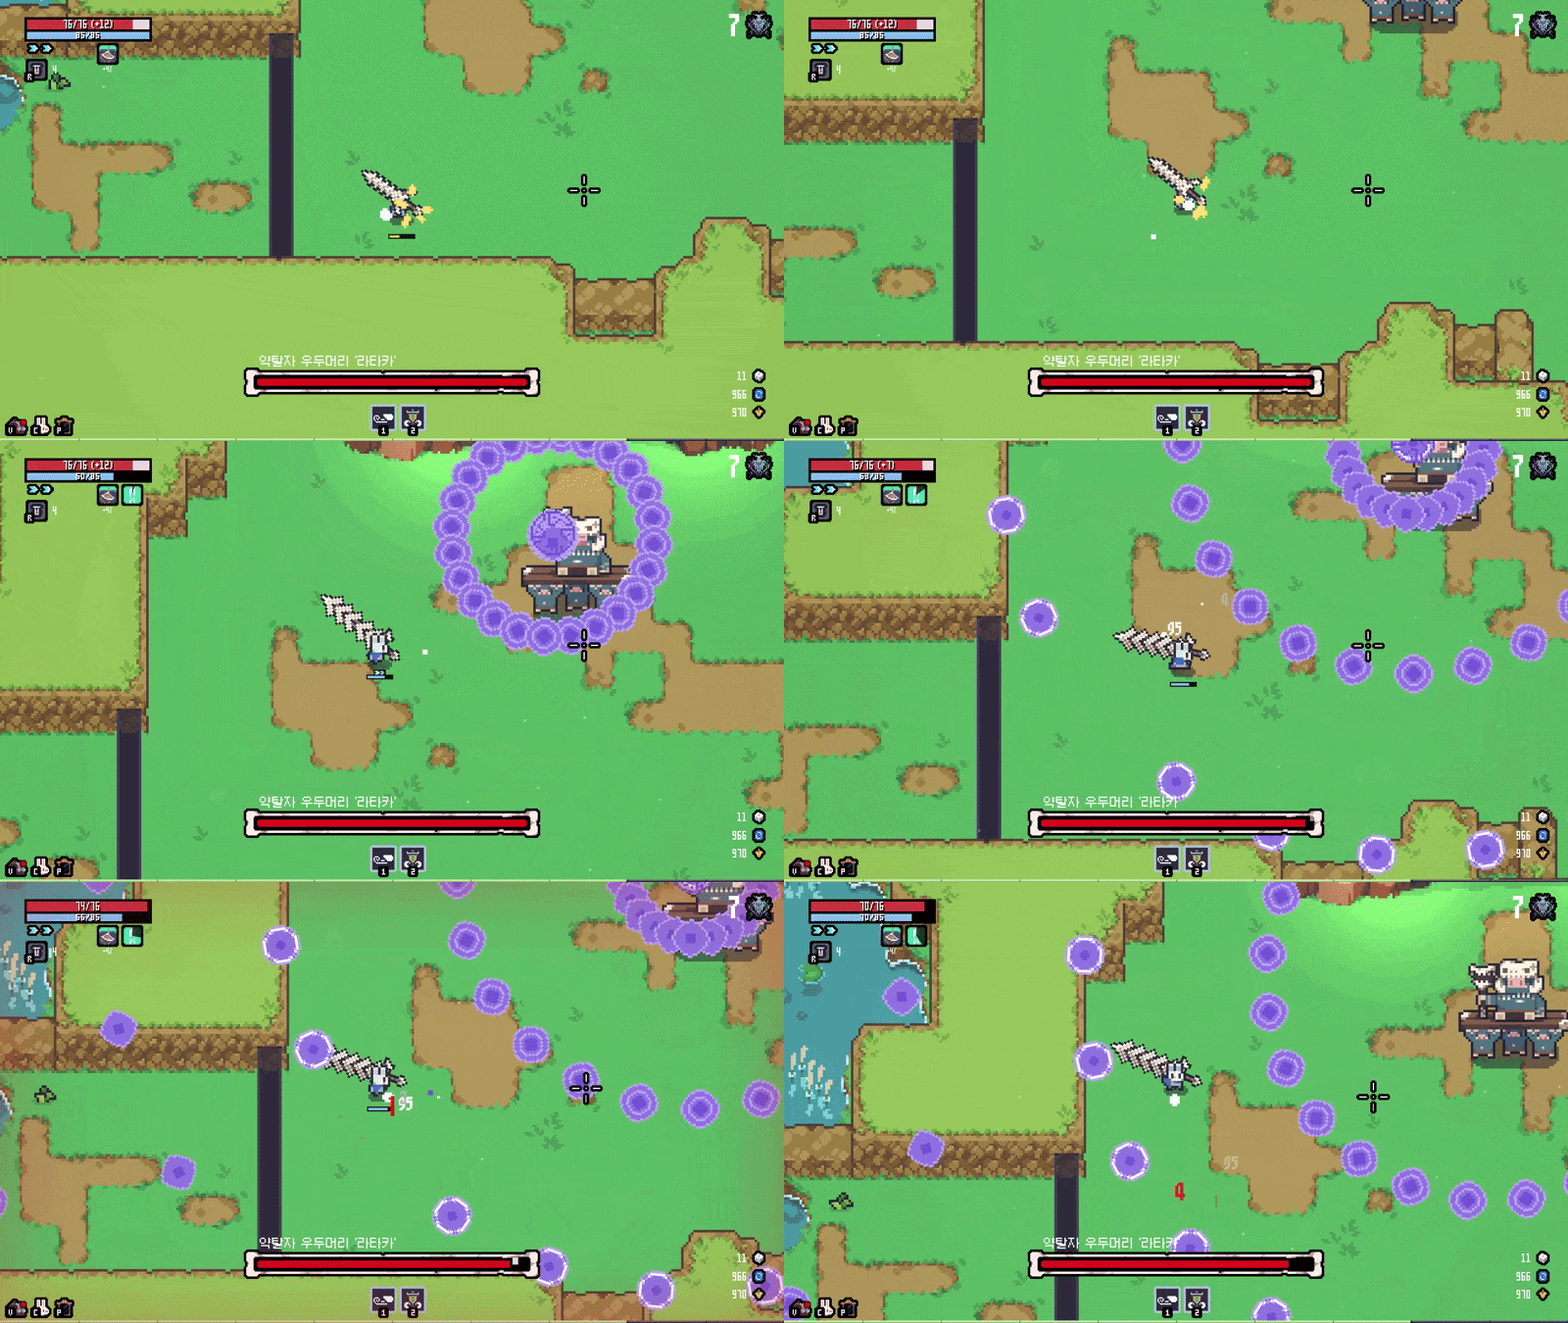
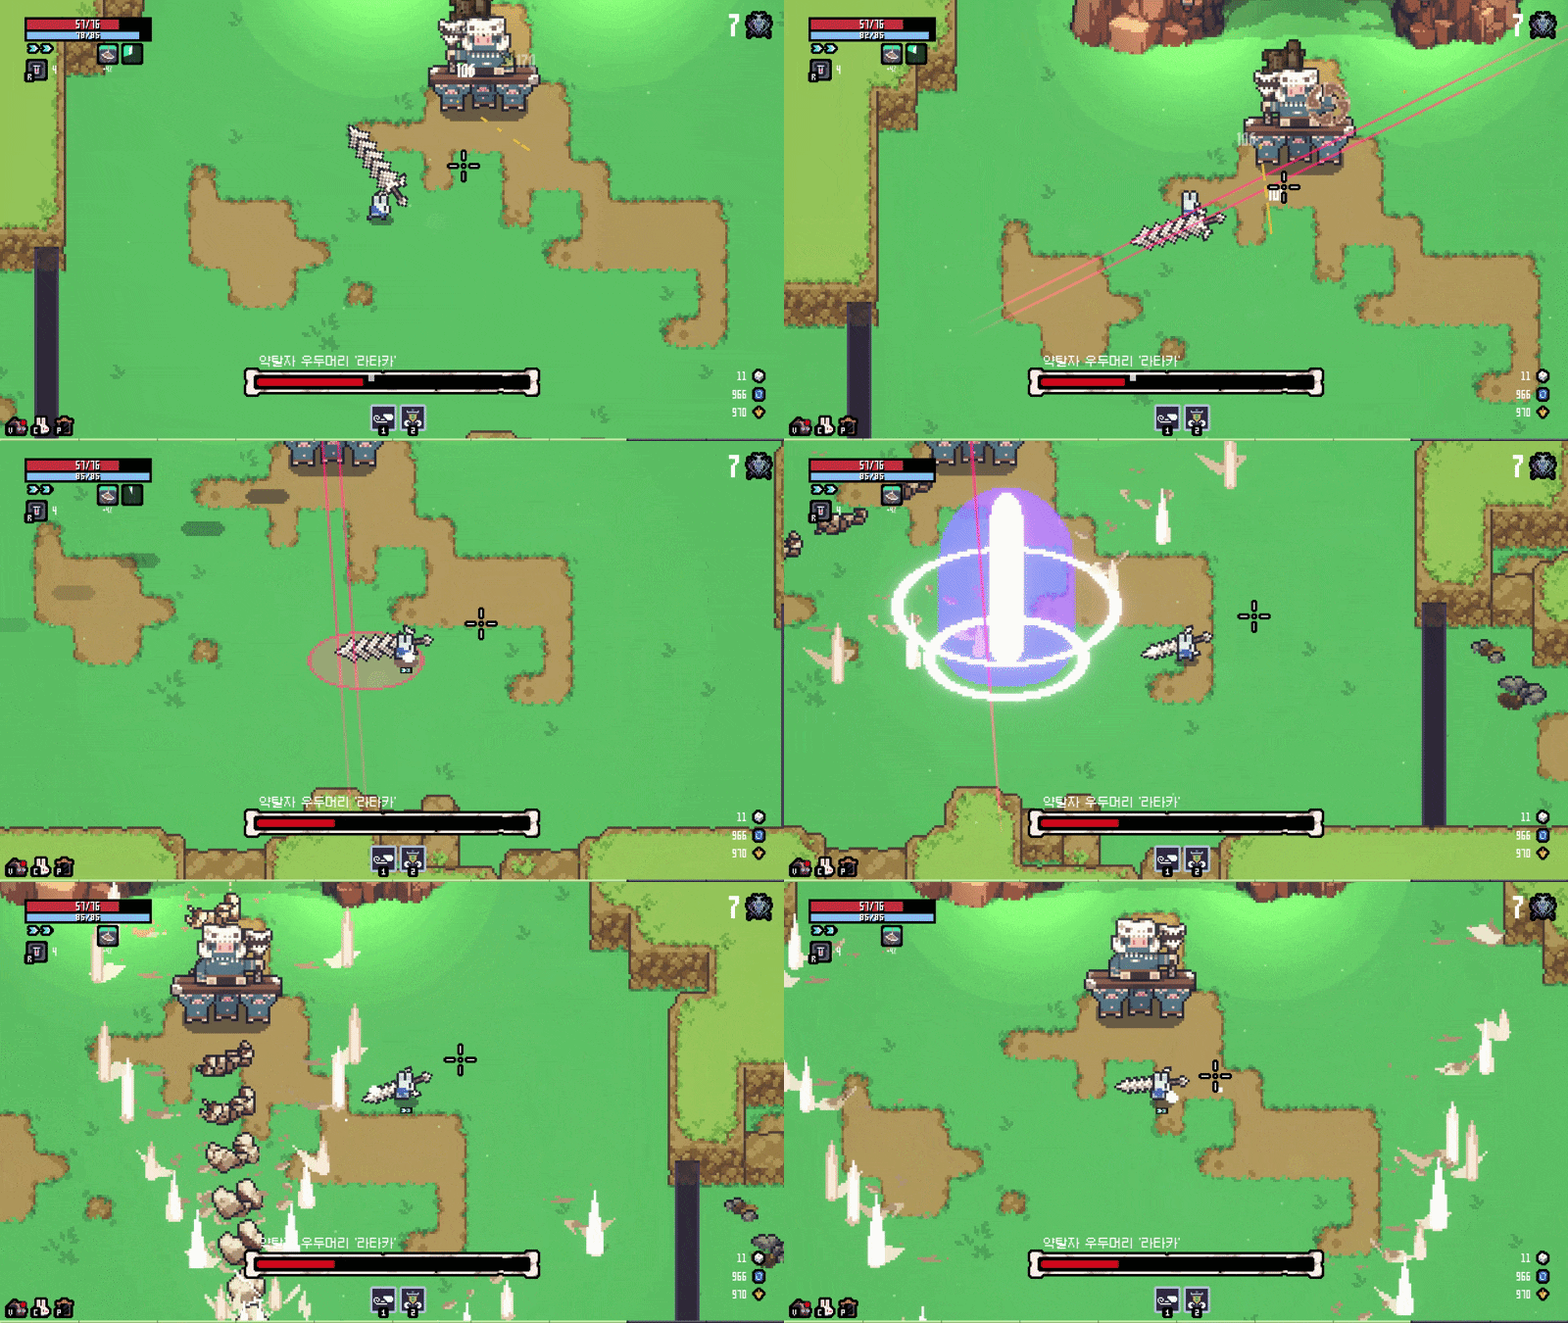
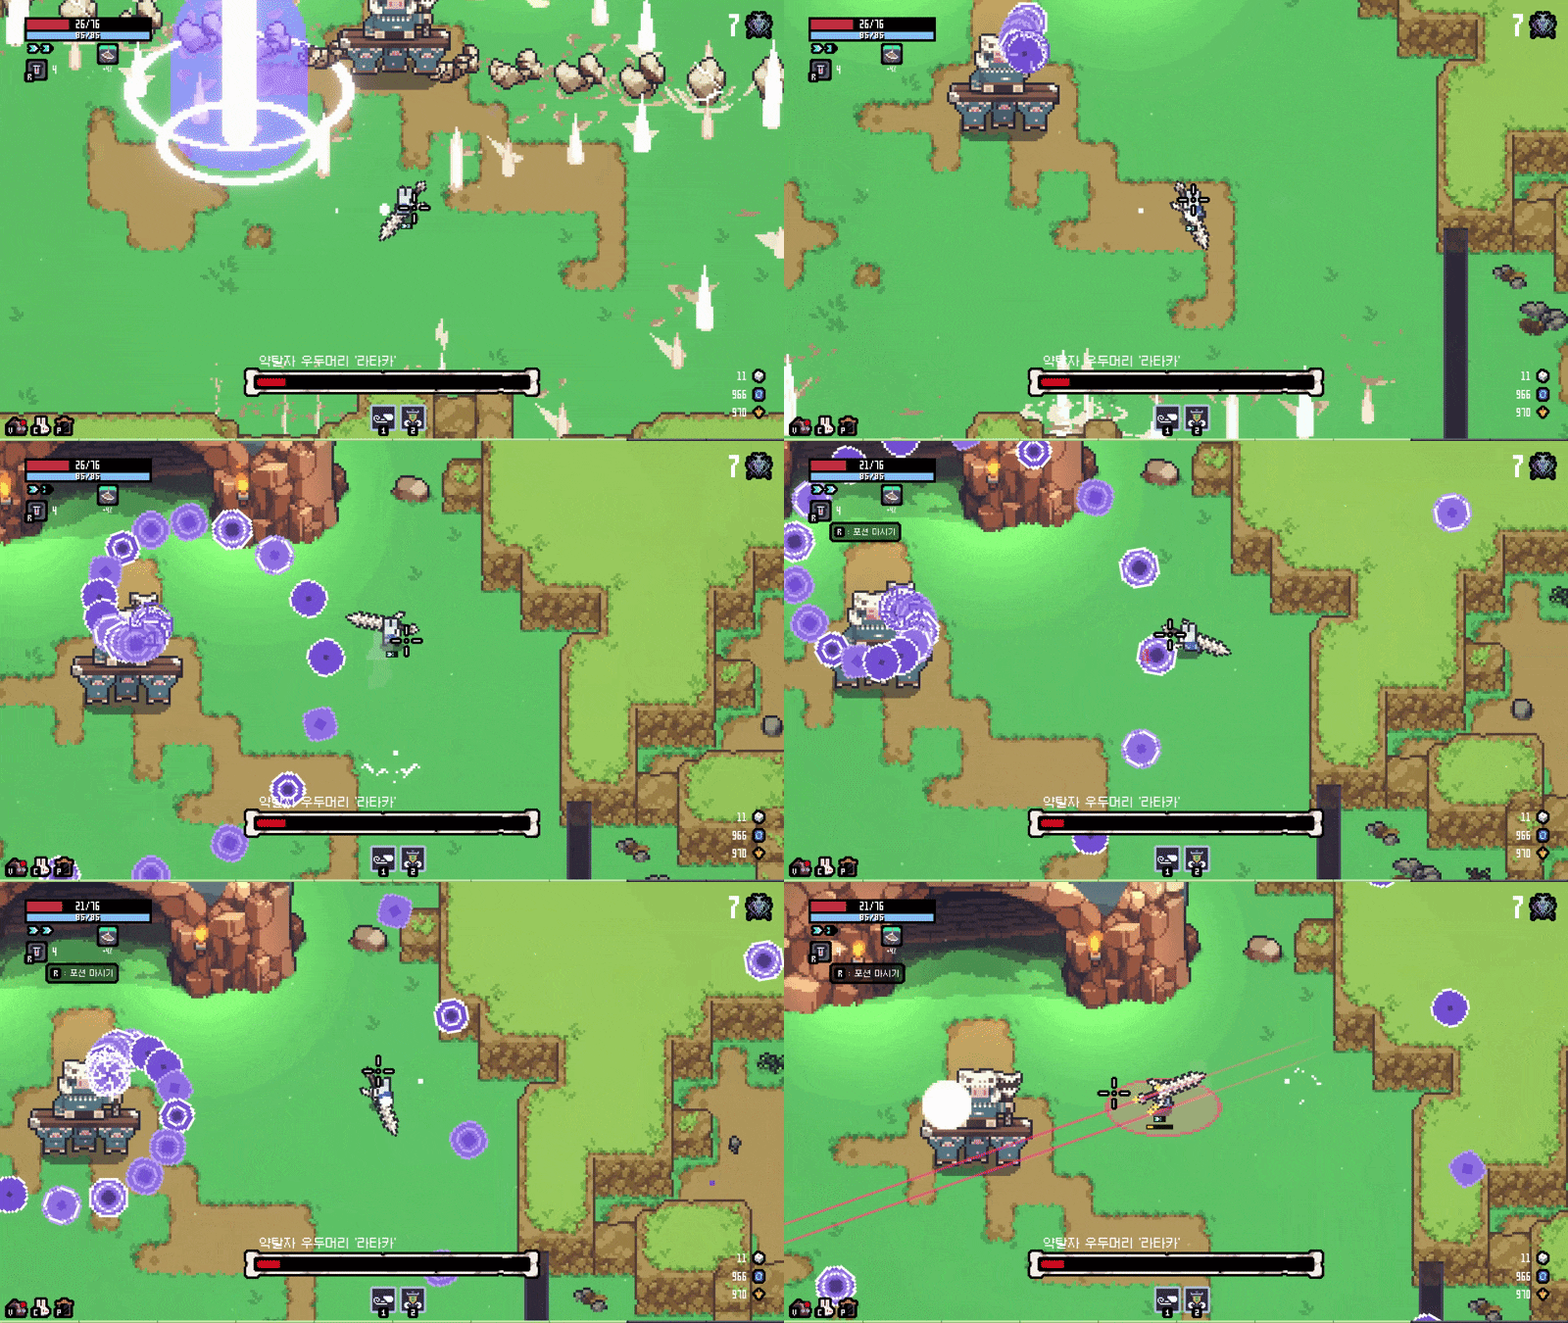
Uses concentric barrages, line-dropped rocks with shock waves, counterclockwise bullets, fan shots, and summons. The source identifies the rock pattern as the clearest melee damage window.
View 5 matching references

Lerid
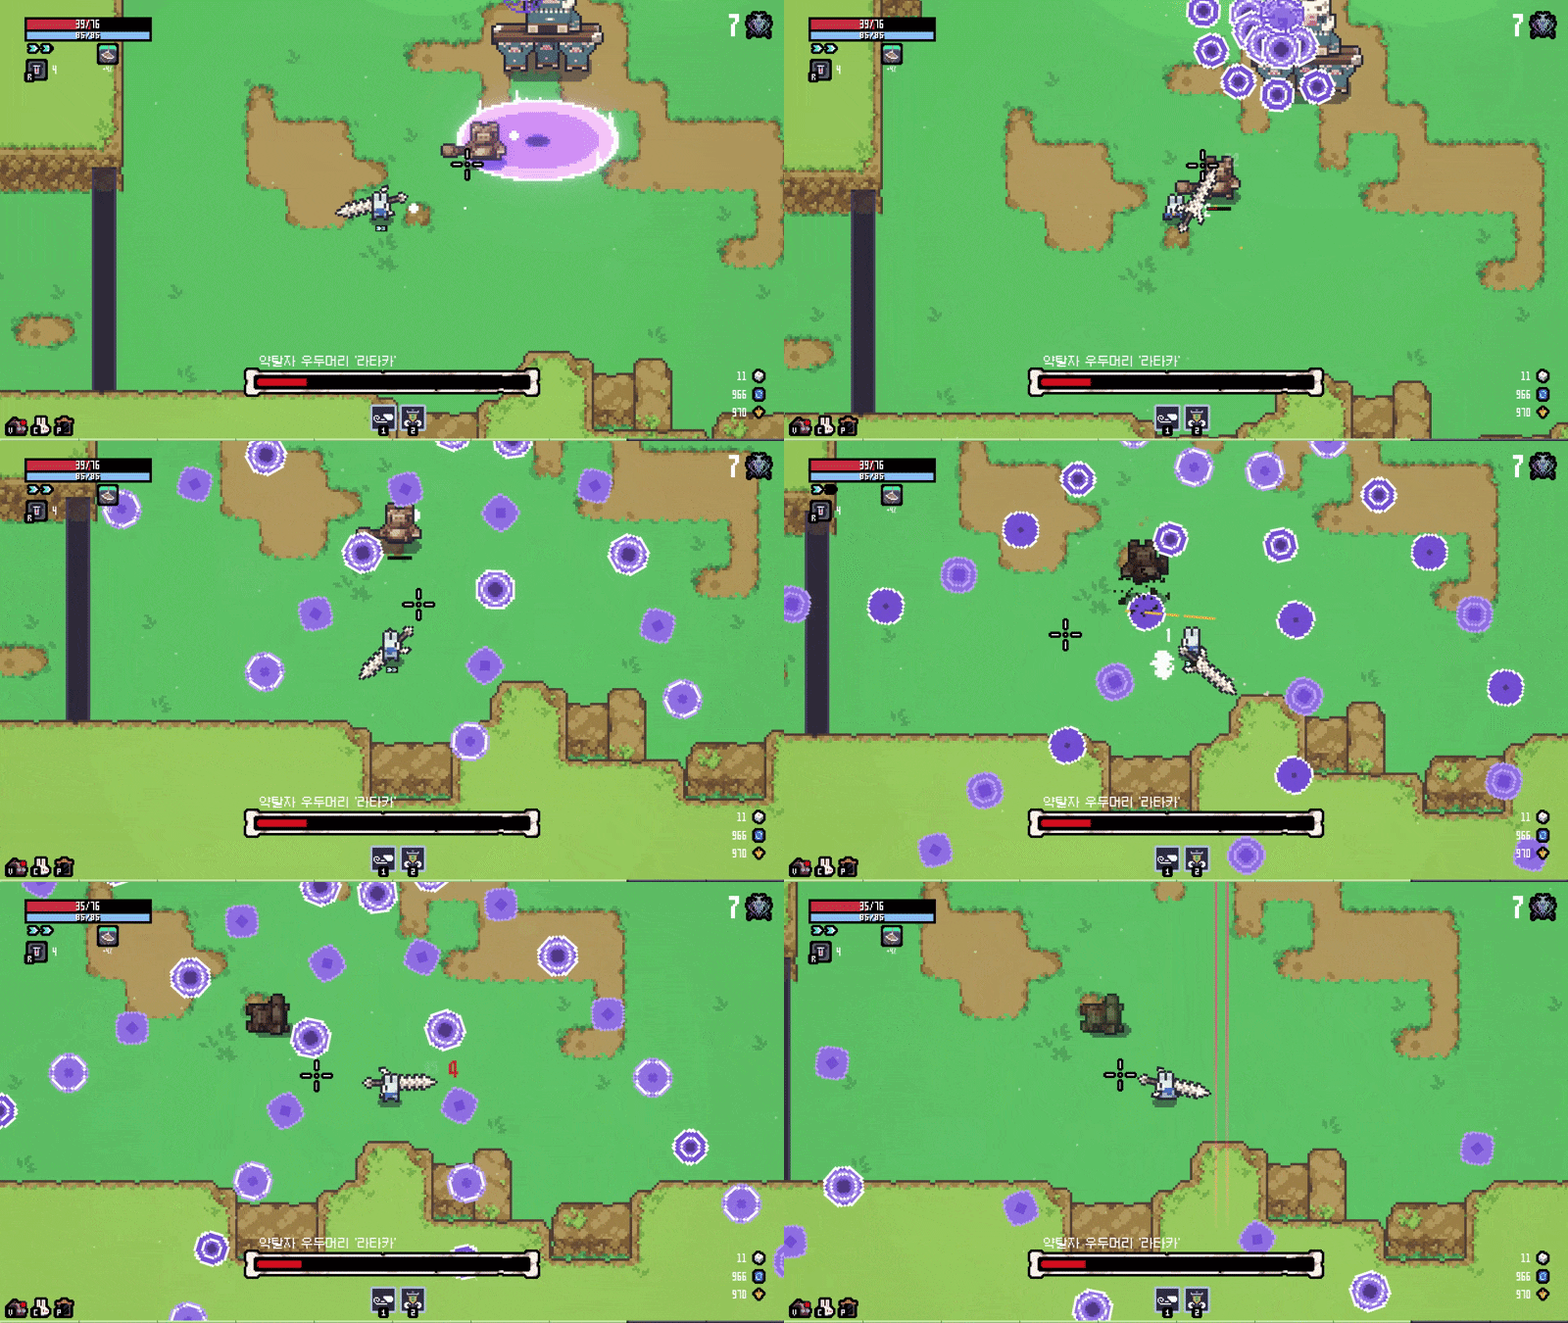
A Stage 2 boss that can replace Lataka. The same character is identified in the archive as the Black Panther Assassin mini boss.
View 1 matching reference
03Stage 3 - Library

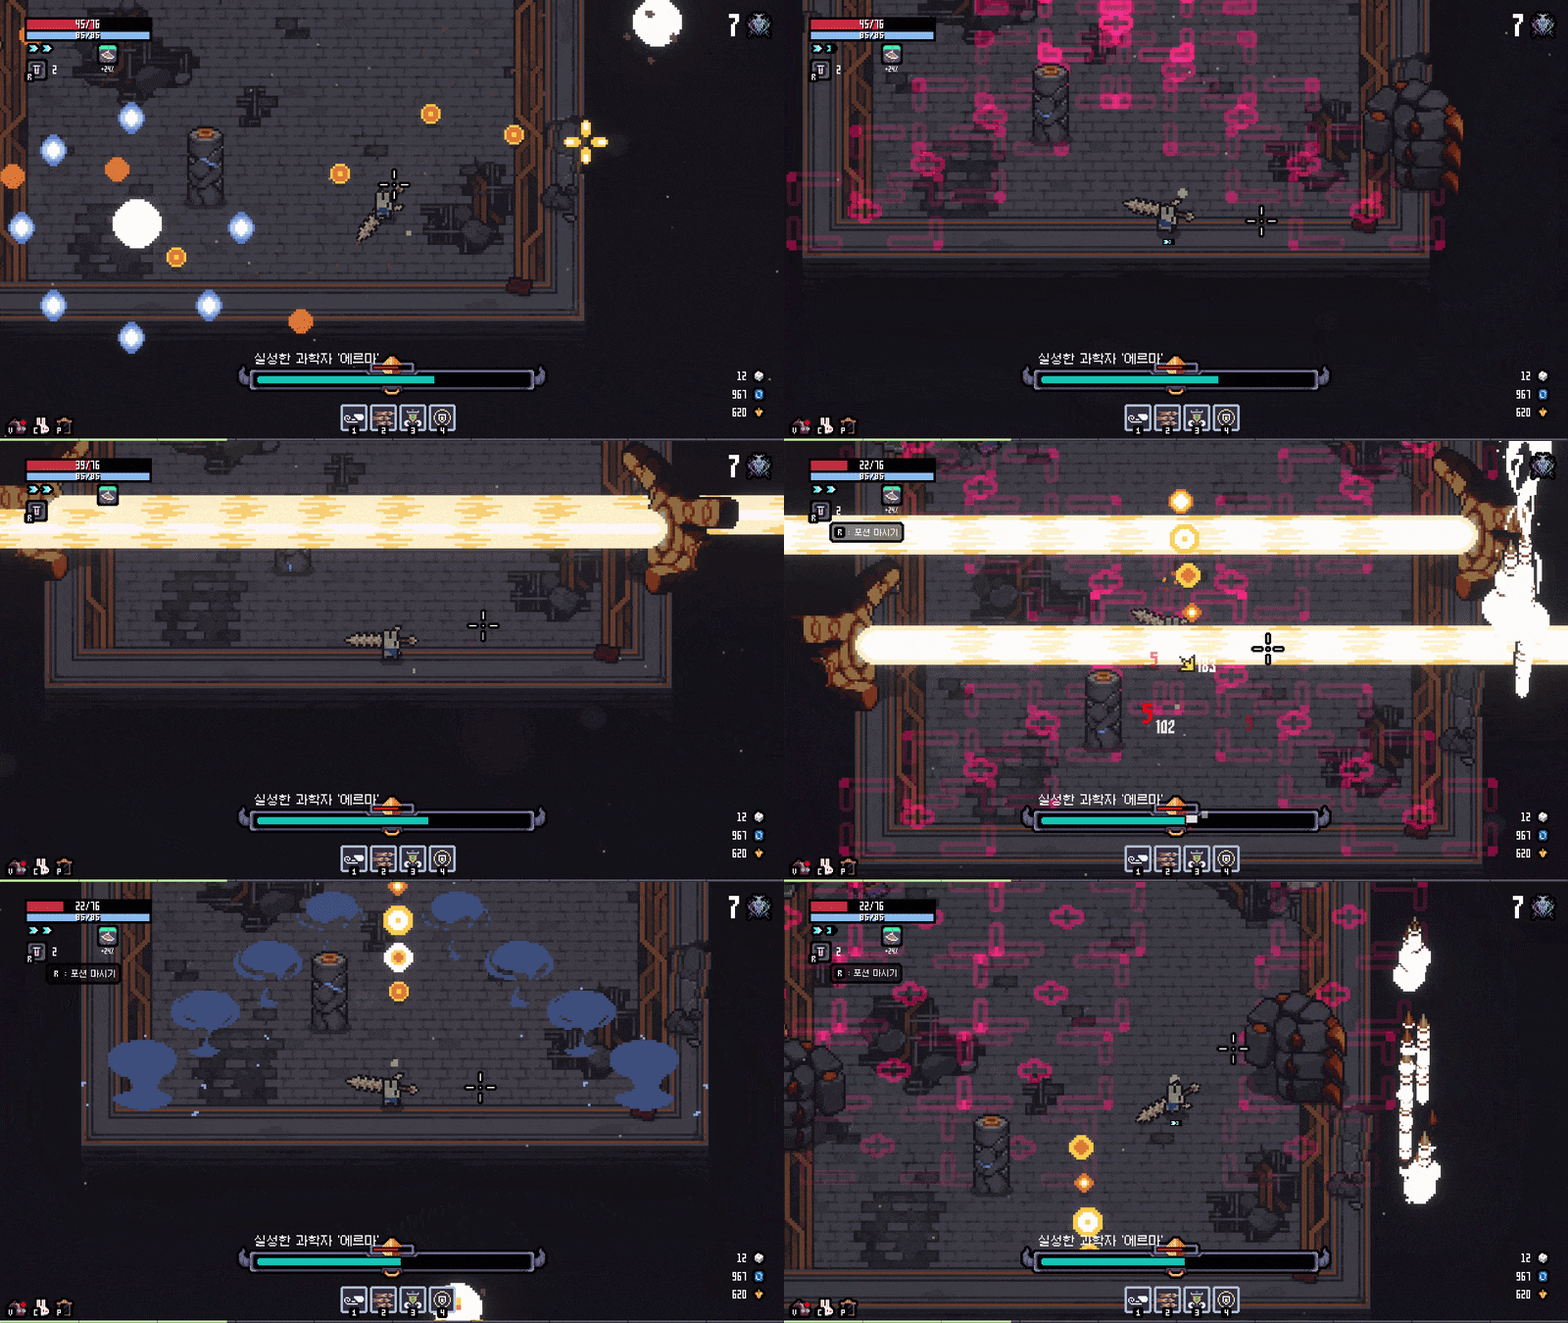
Erma
A three-phase golem with separate targetable hitboxes on the head and both hands that share the golem health pool. Wide attacks can connect with multiple parts, while missiles operate independently and overlap other patterns.
View 6 matching references
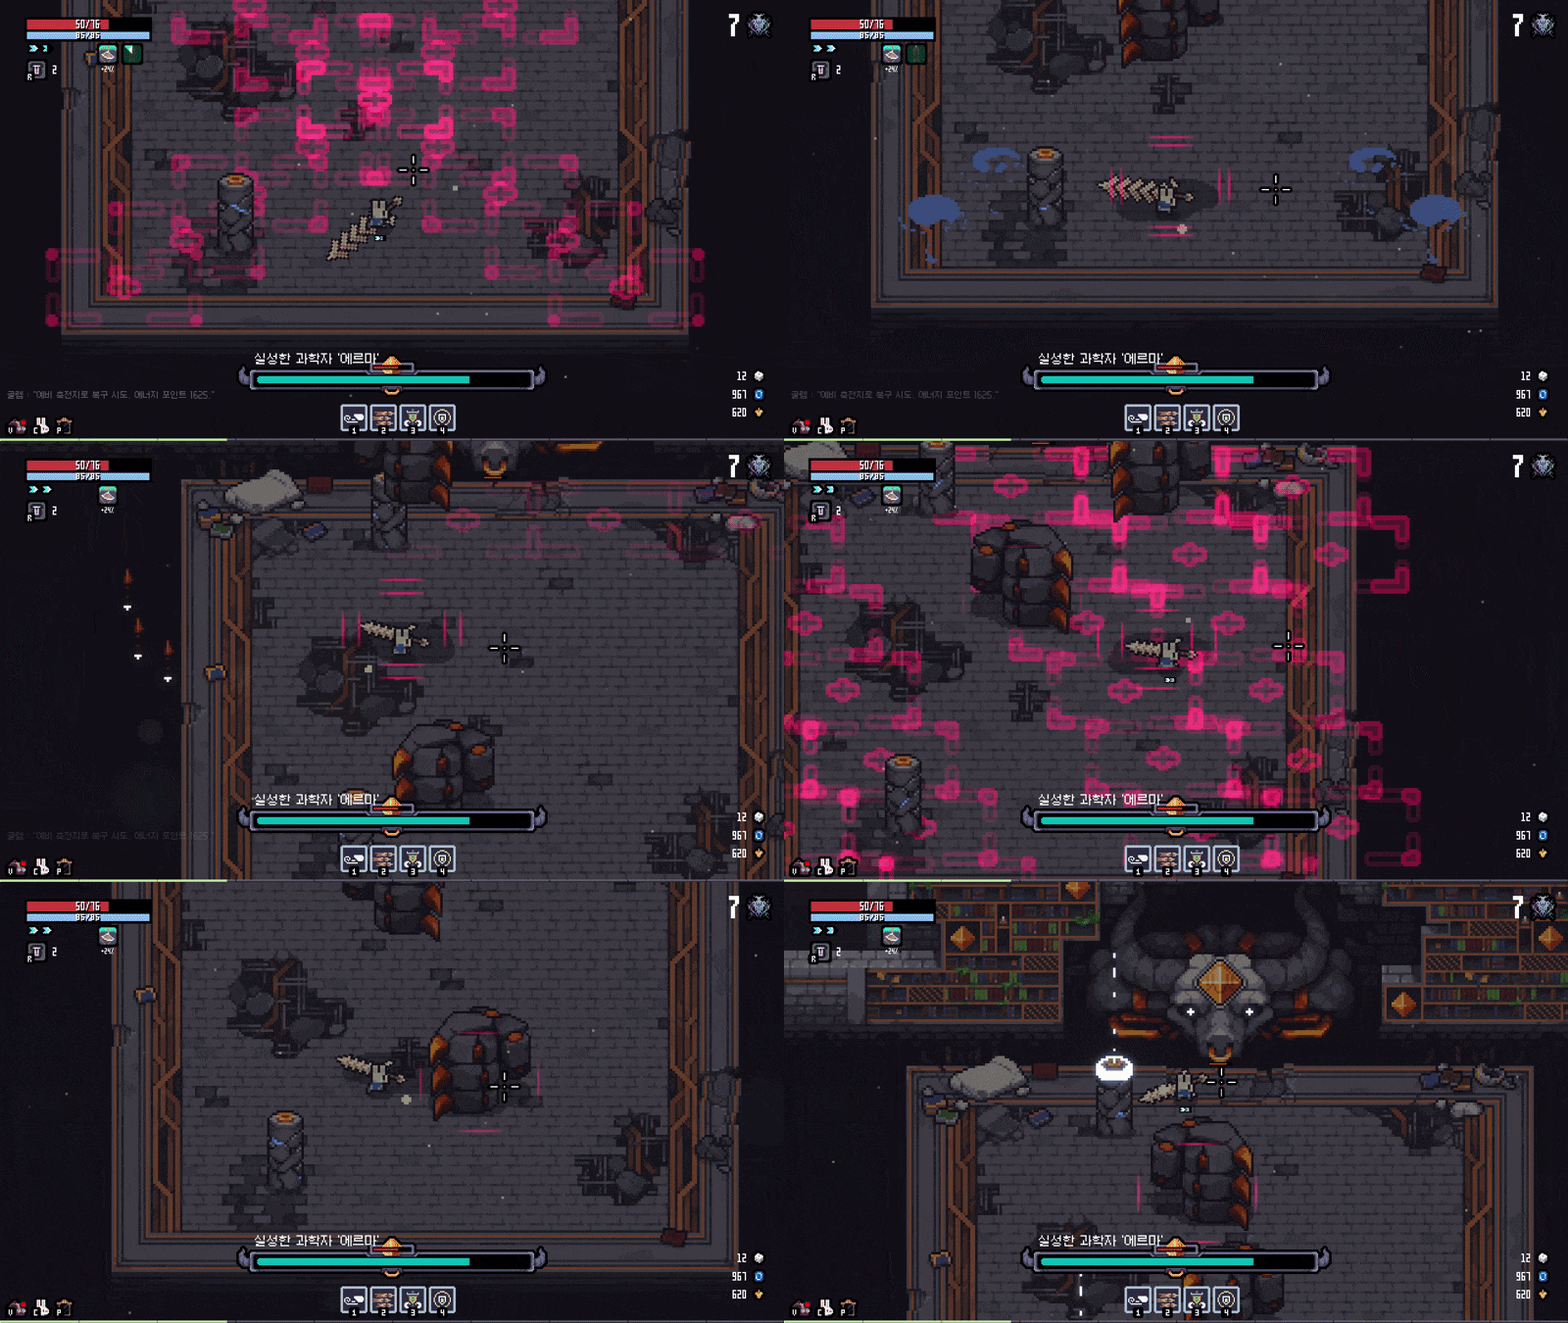
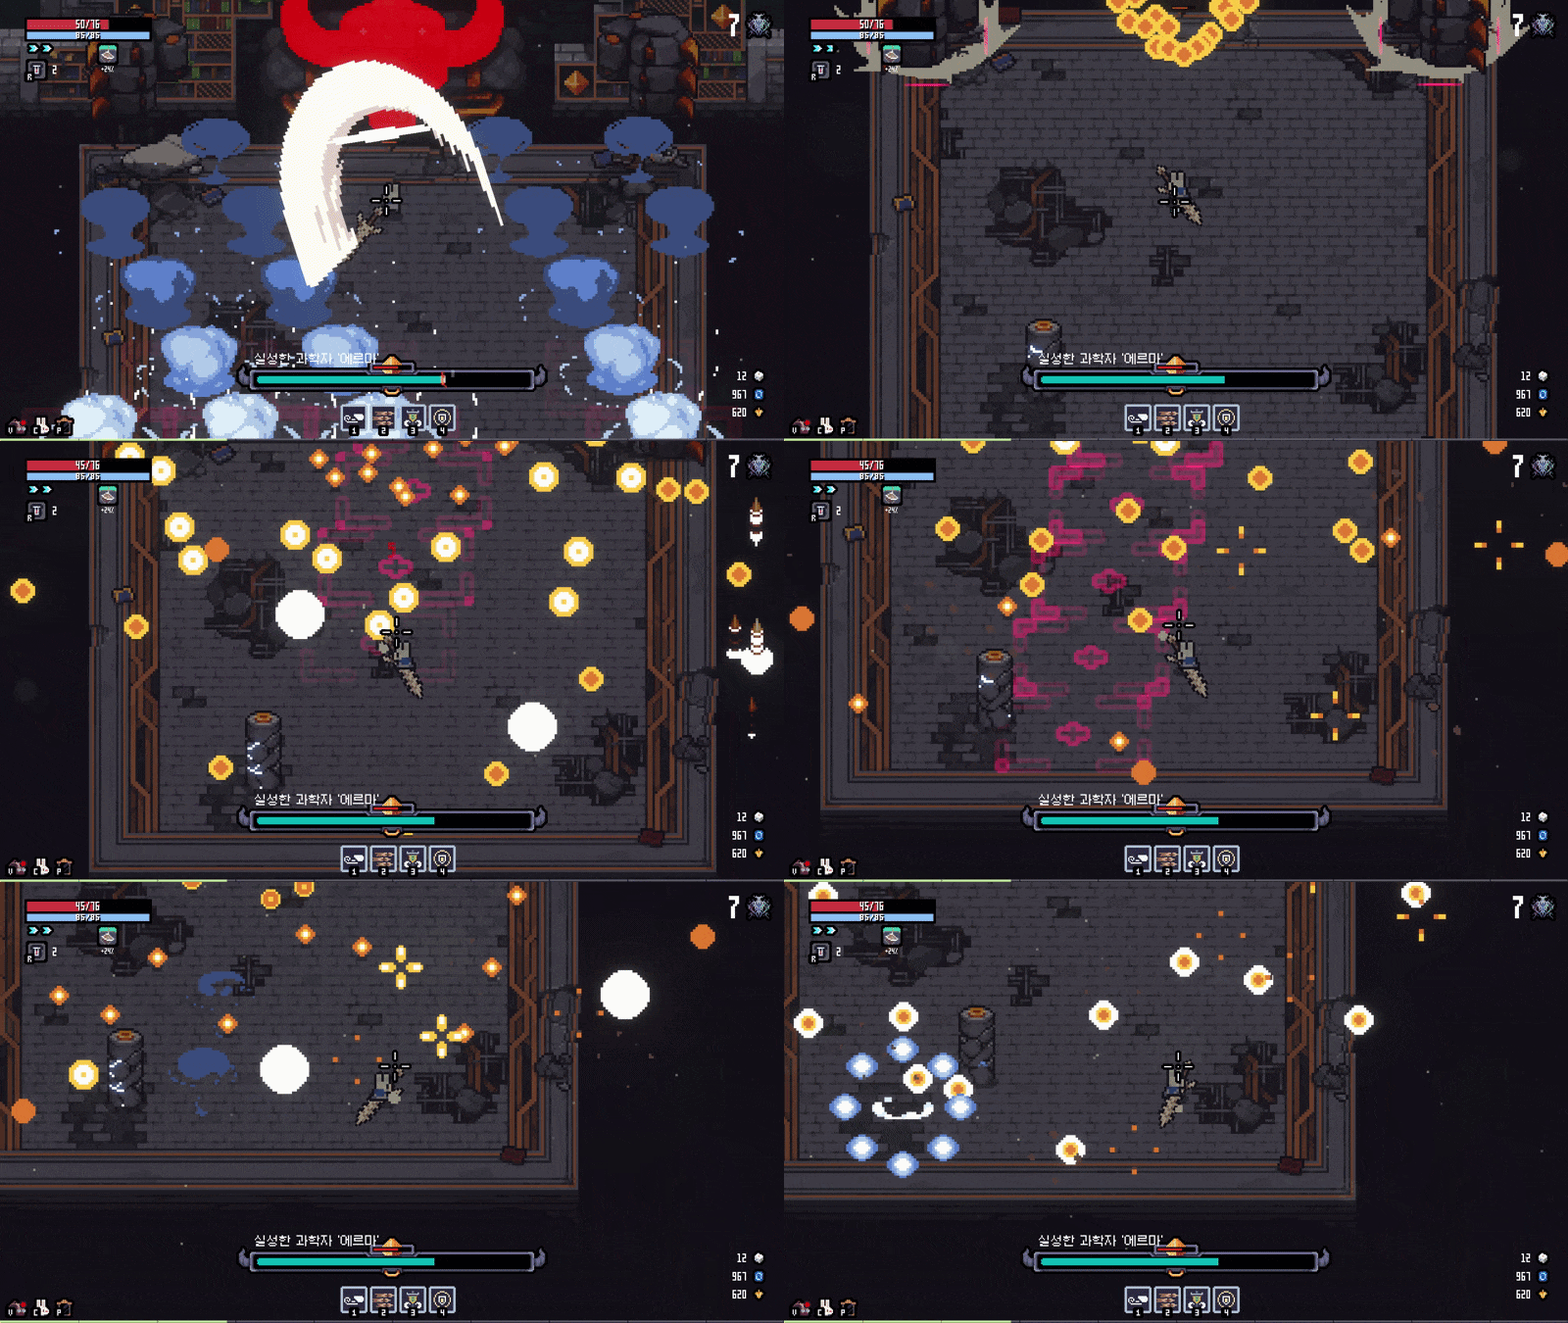
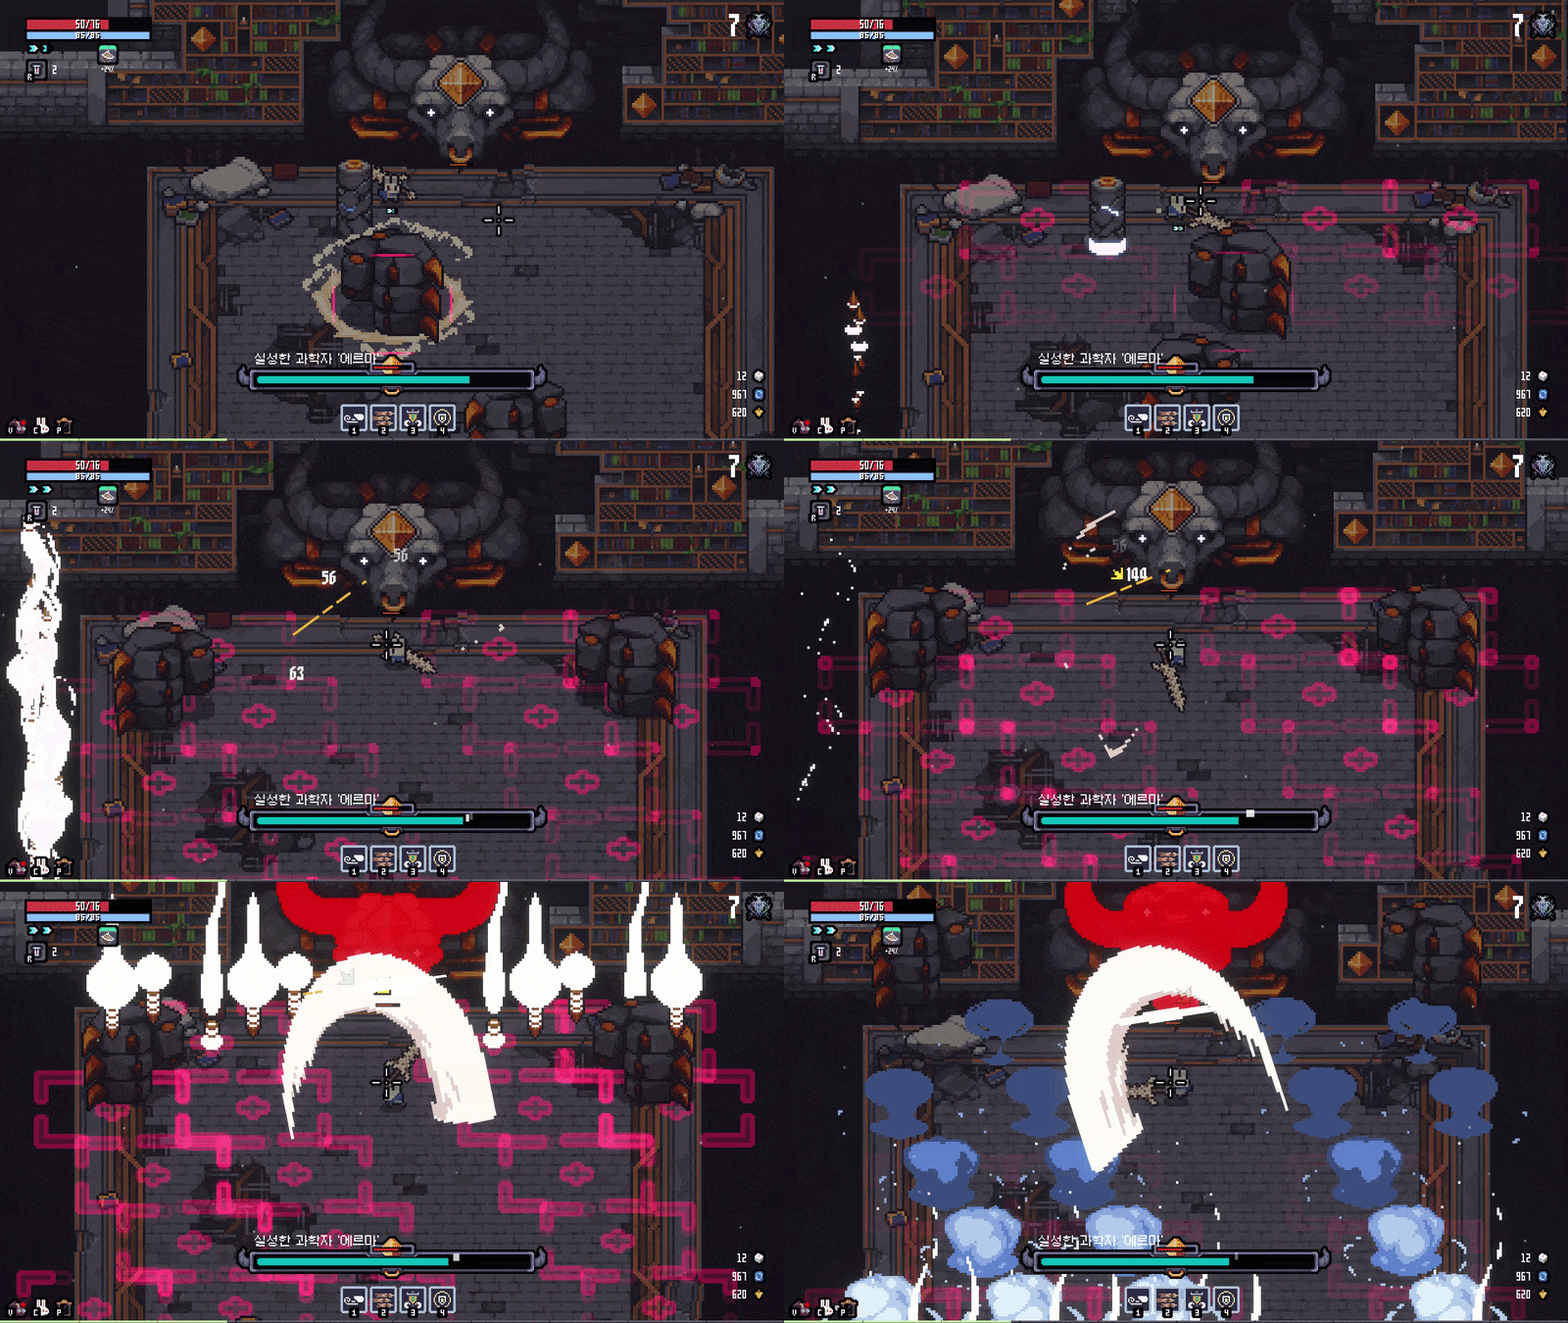
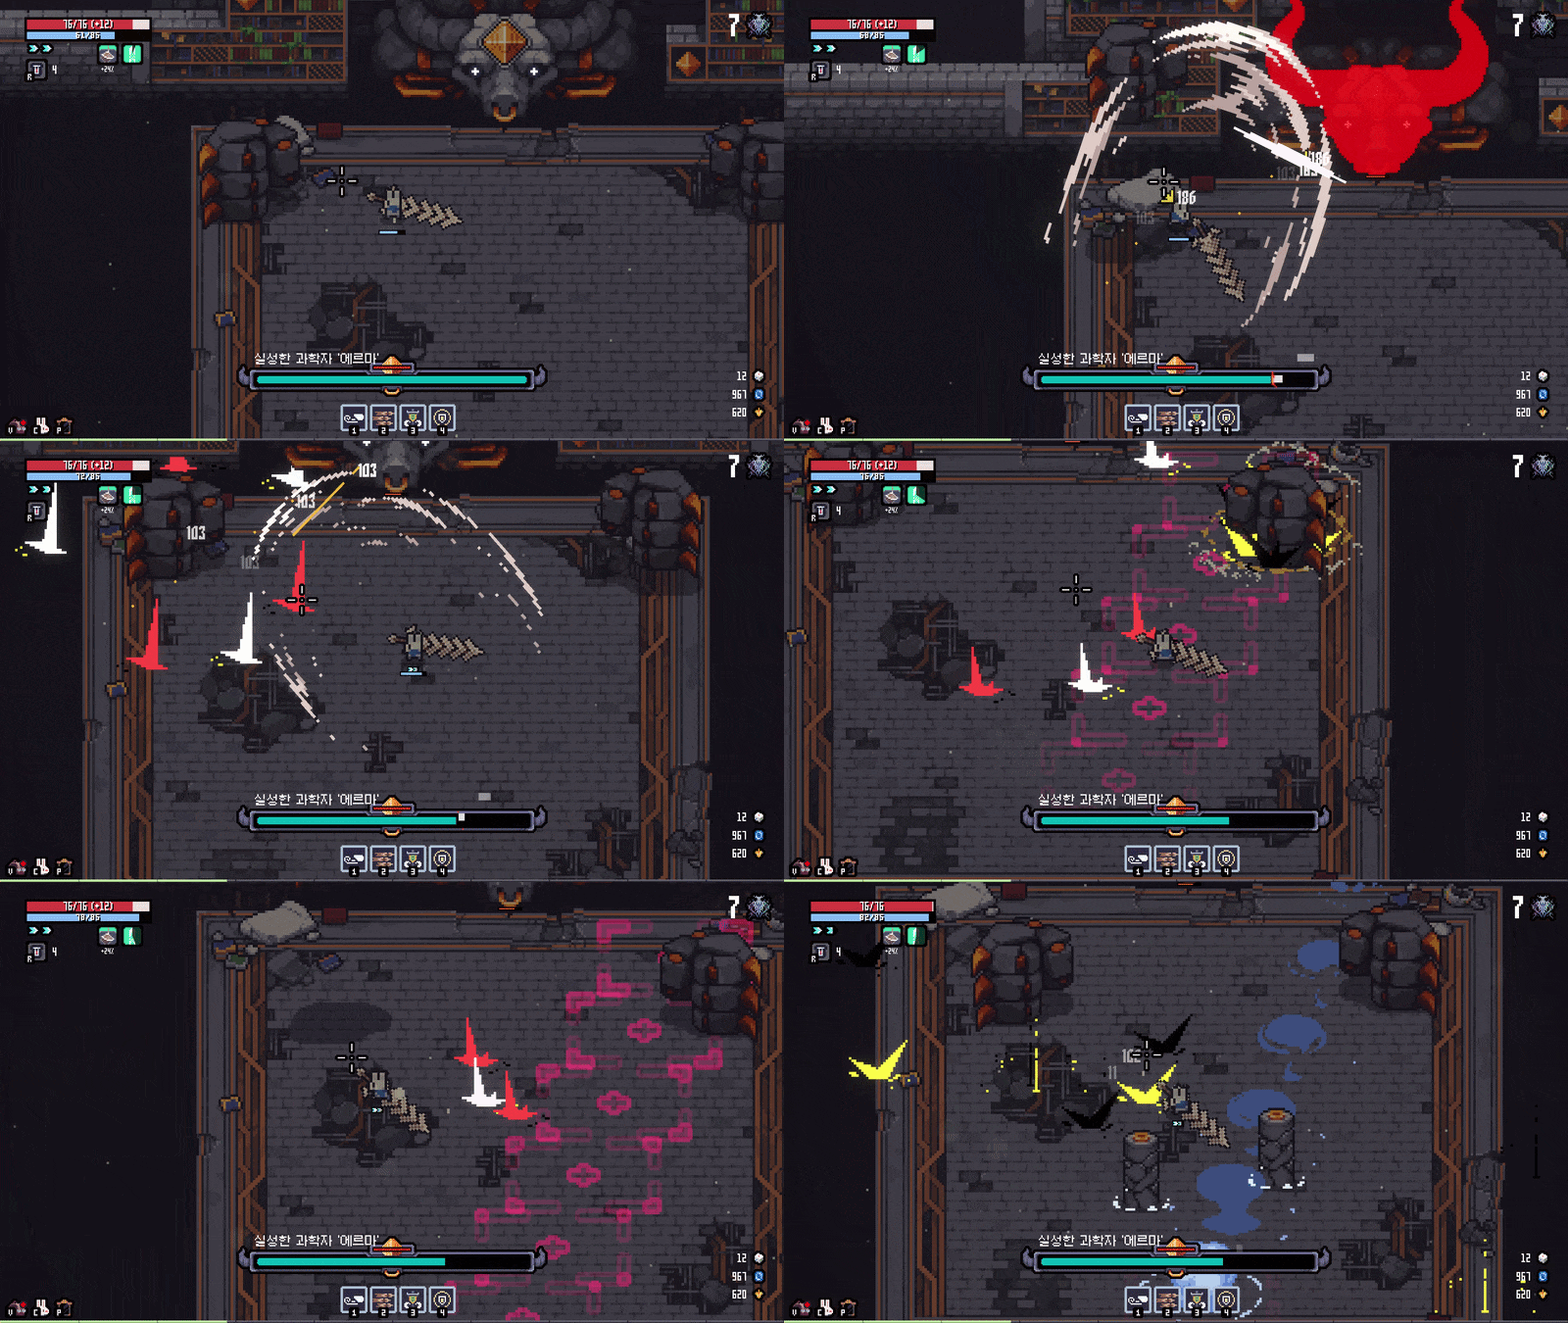

Pantaxis
Bounces off walls, becomes invulnerable while machines fire projectiles, uses a three-pronged rotating laser, charges inside a rotating sphere, and drops slow fireballs. Freeze or stun can interrupt patterns.
View 1 matching reference
04Stage 4 - Wasteland
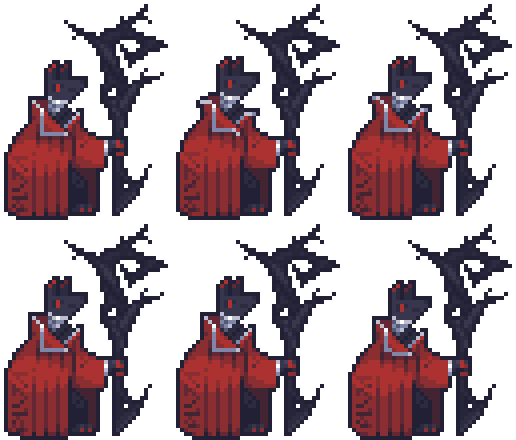
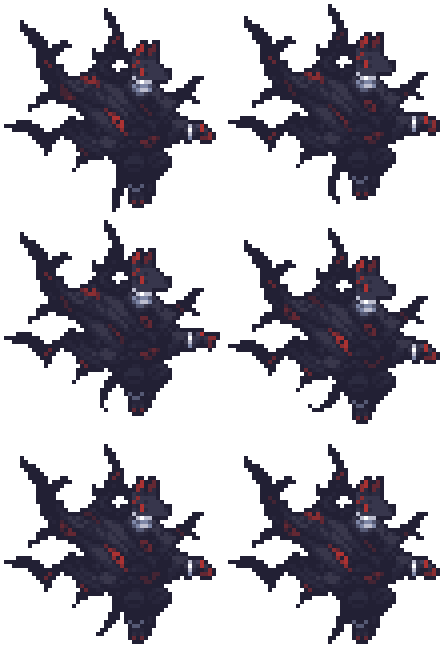
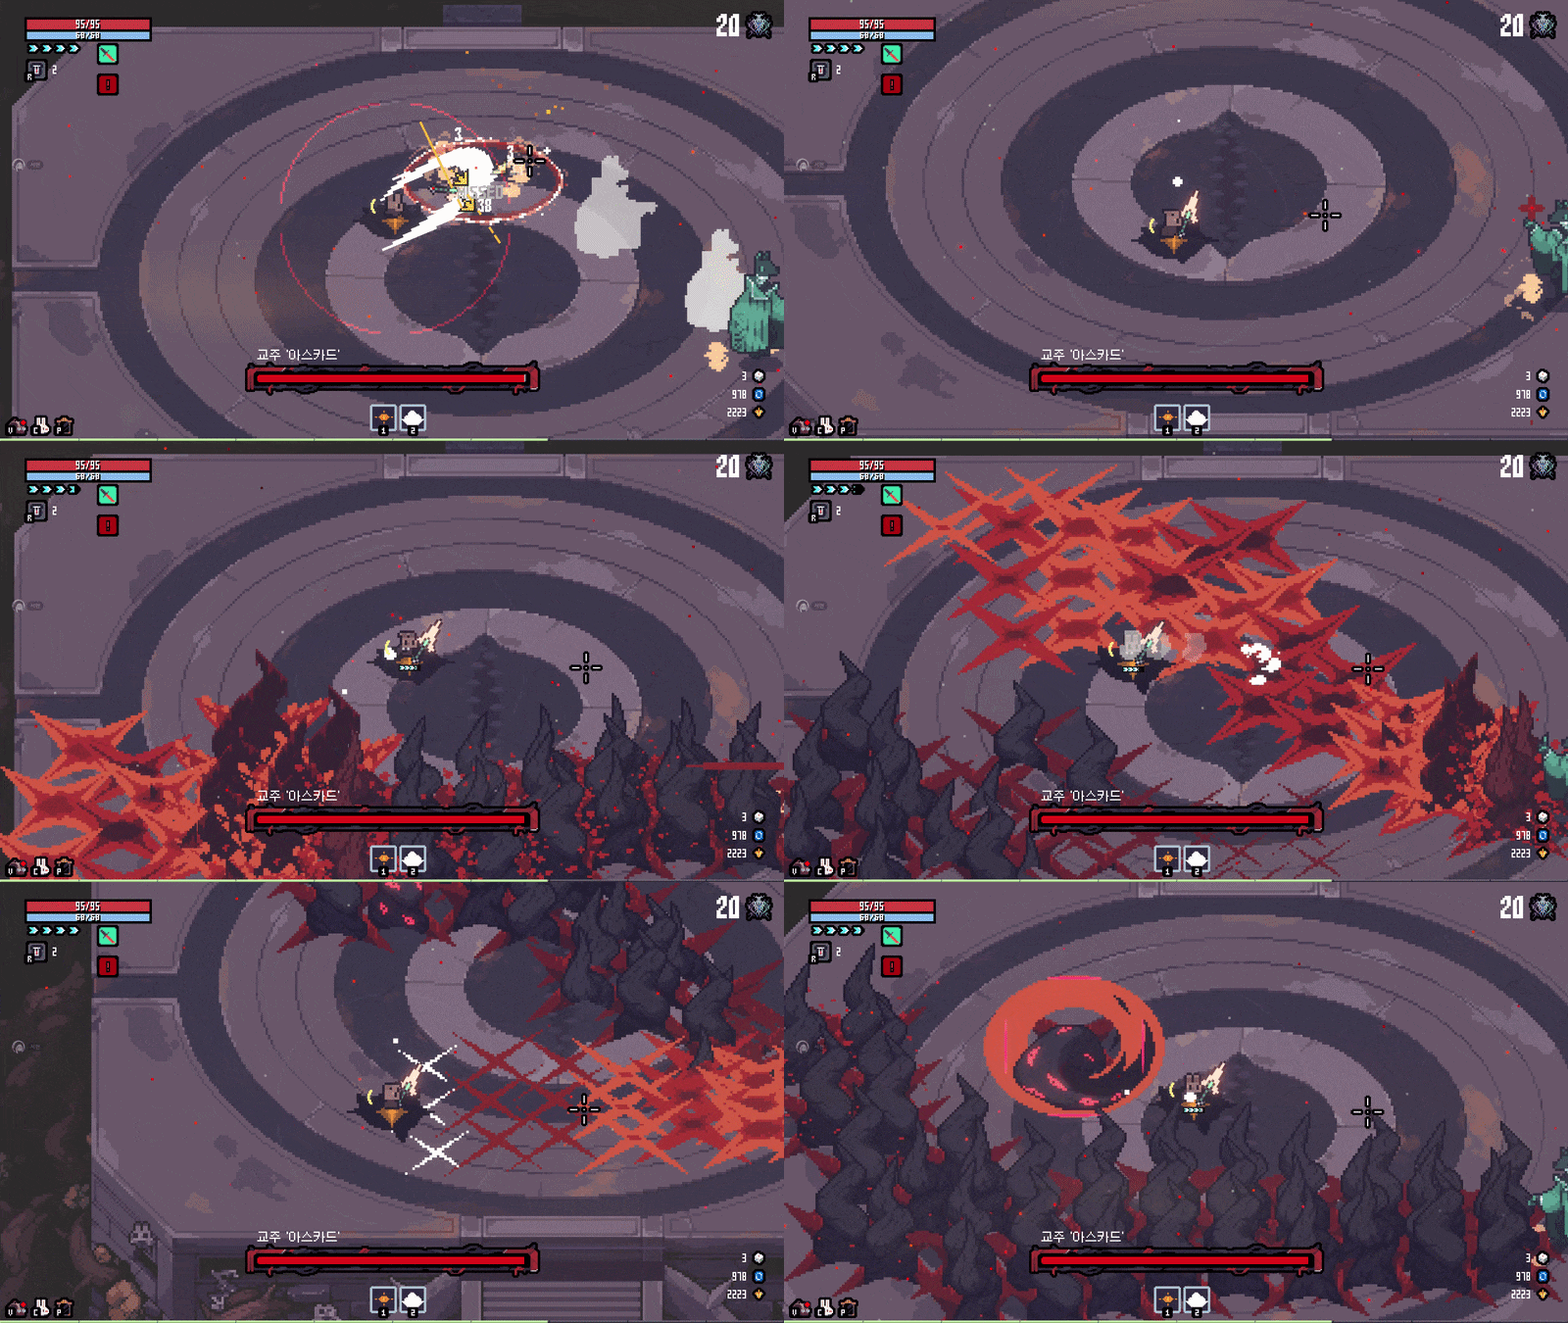
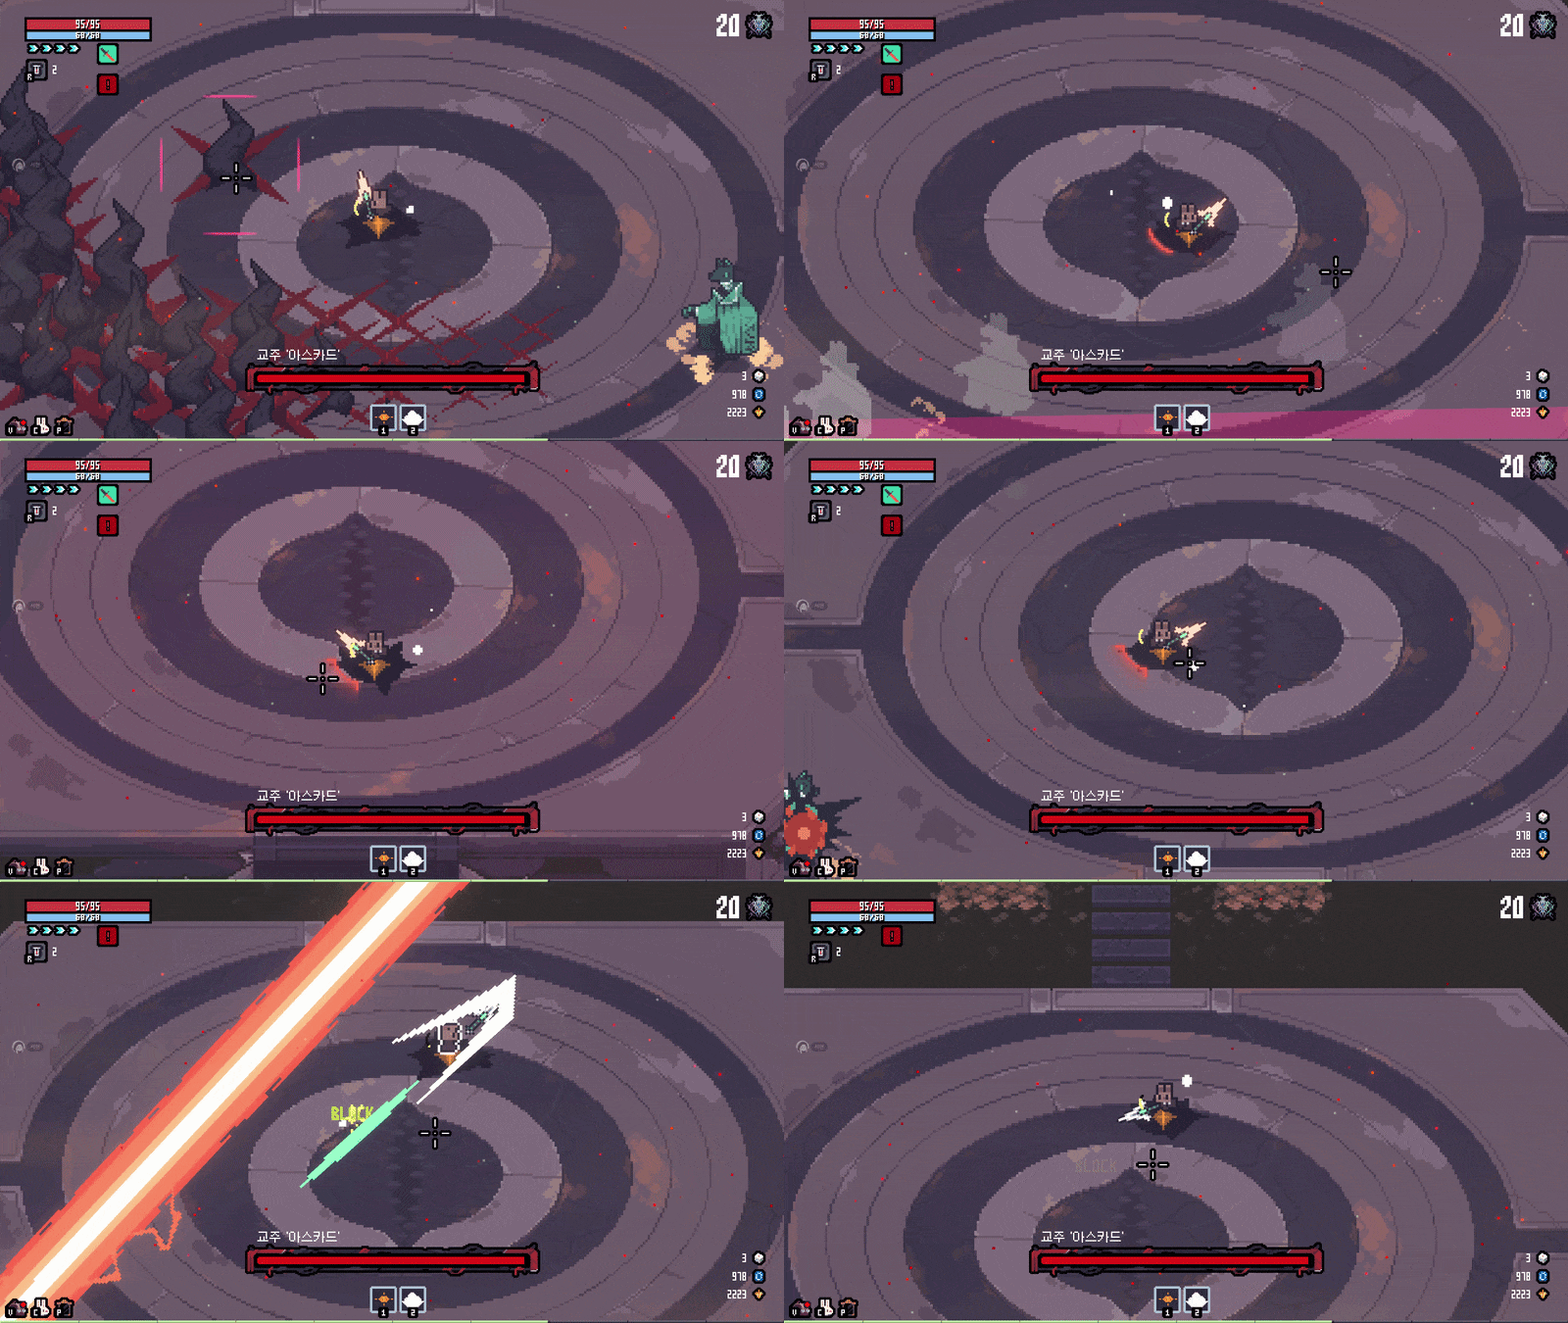
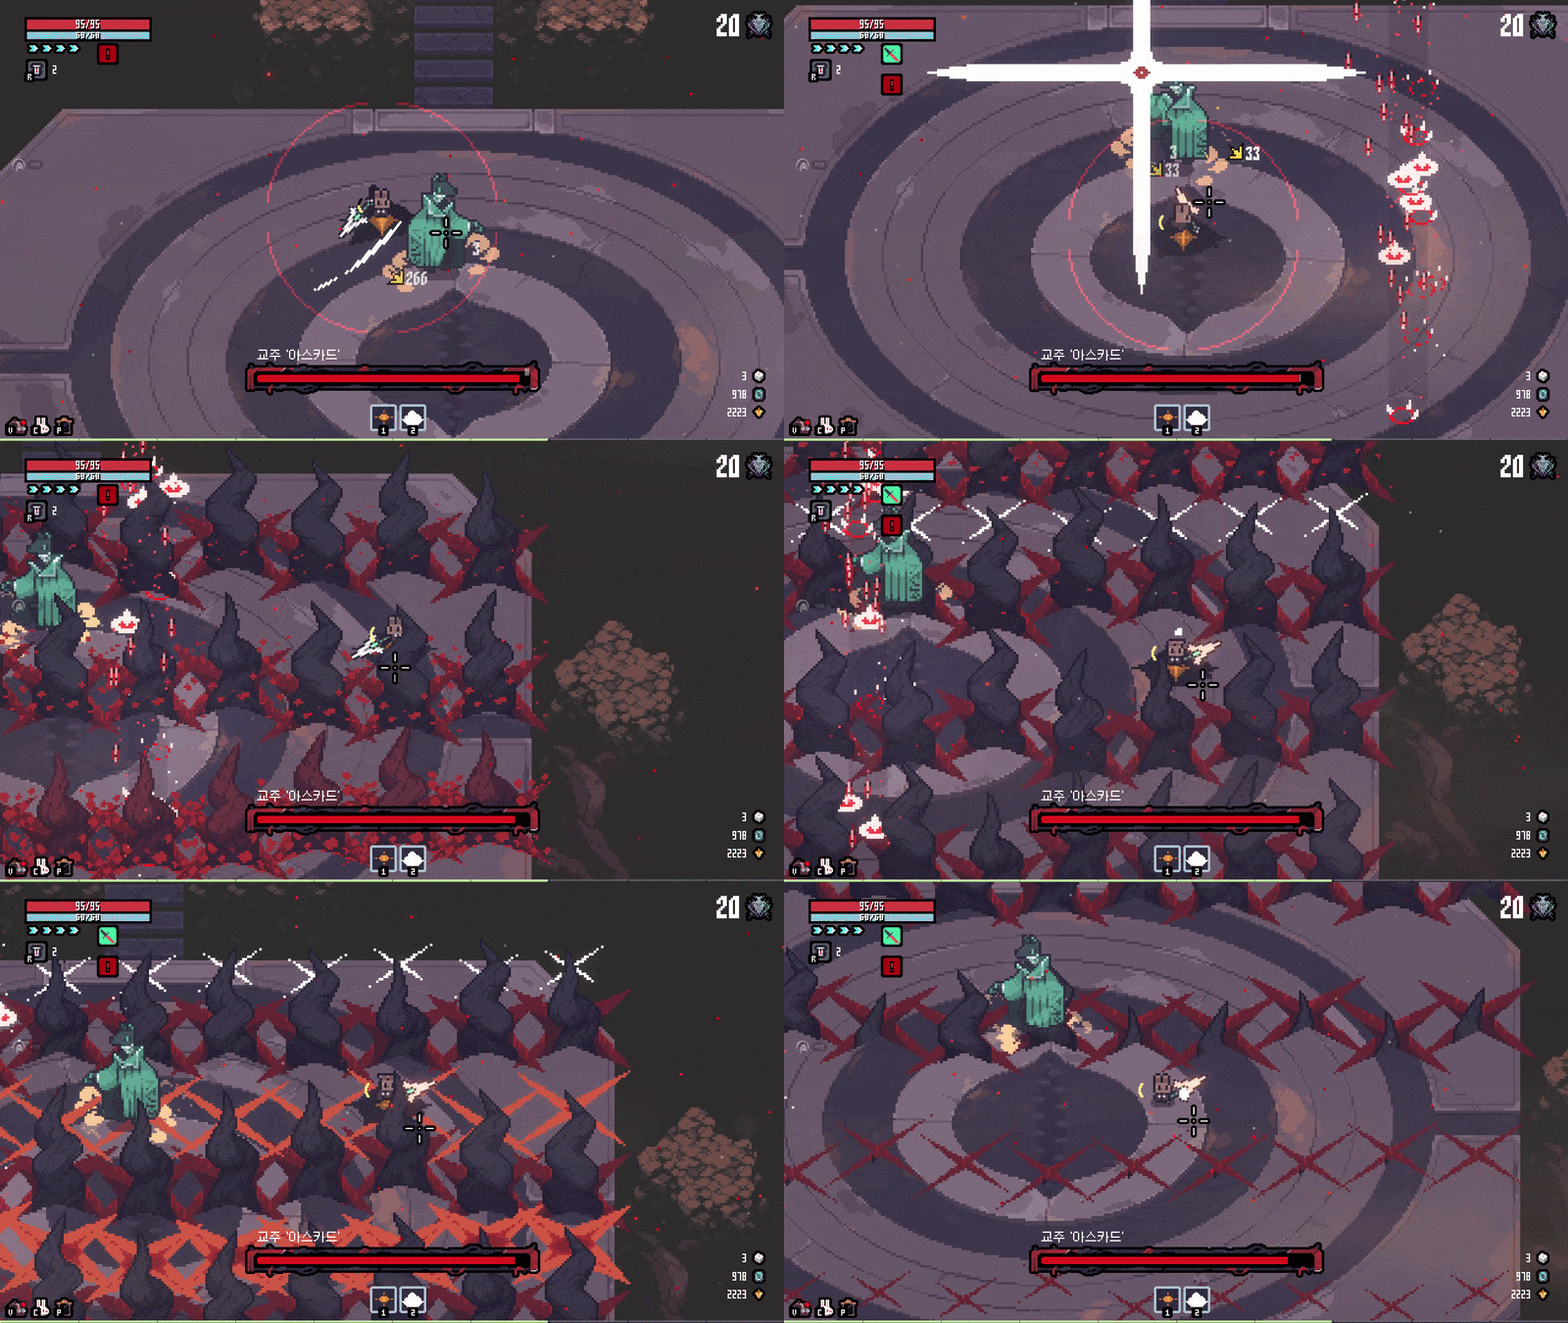
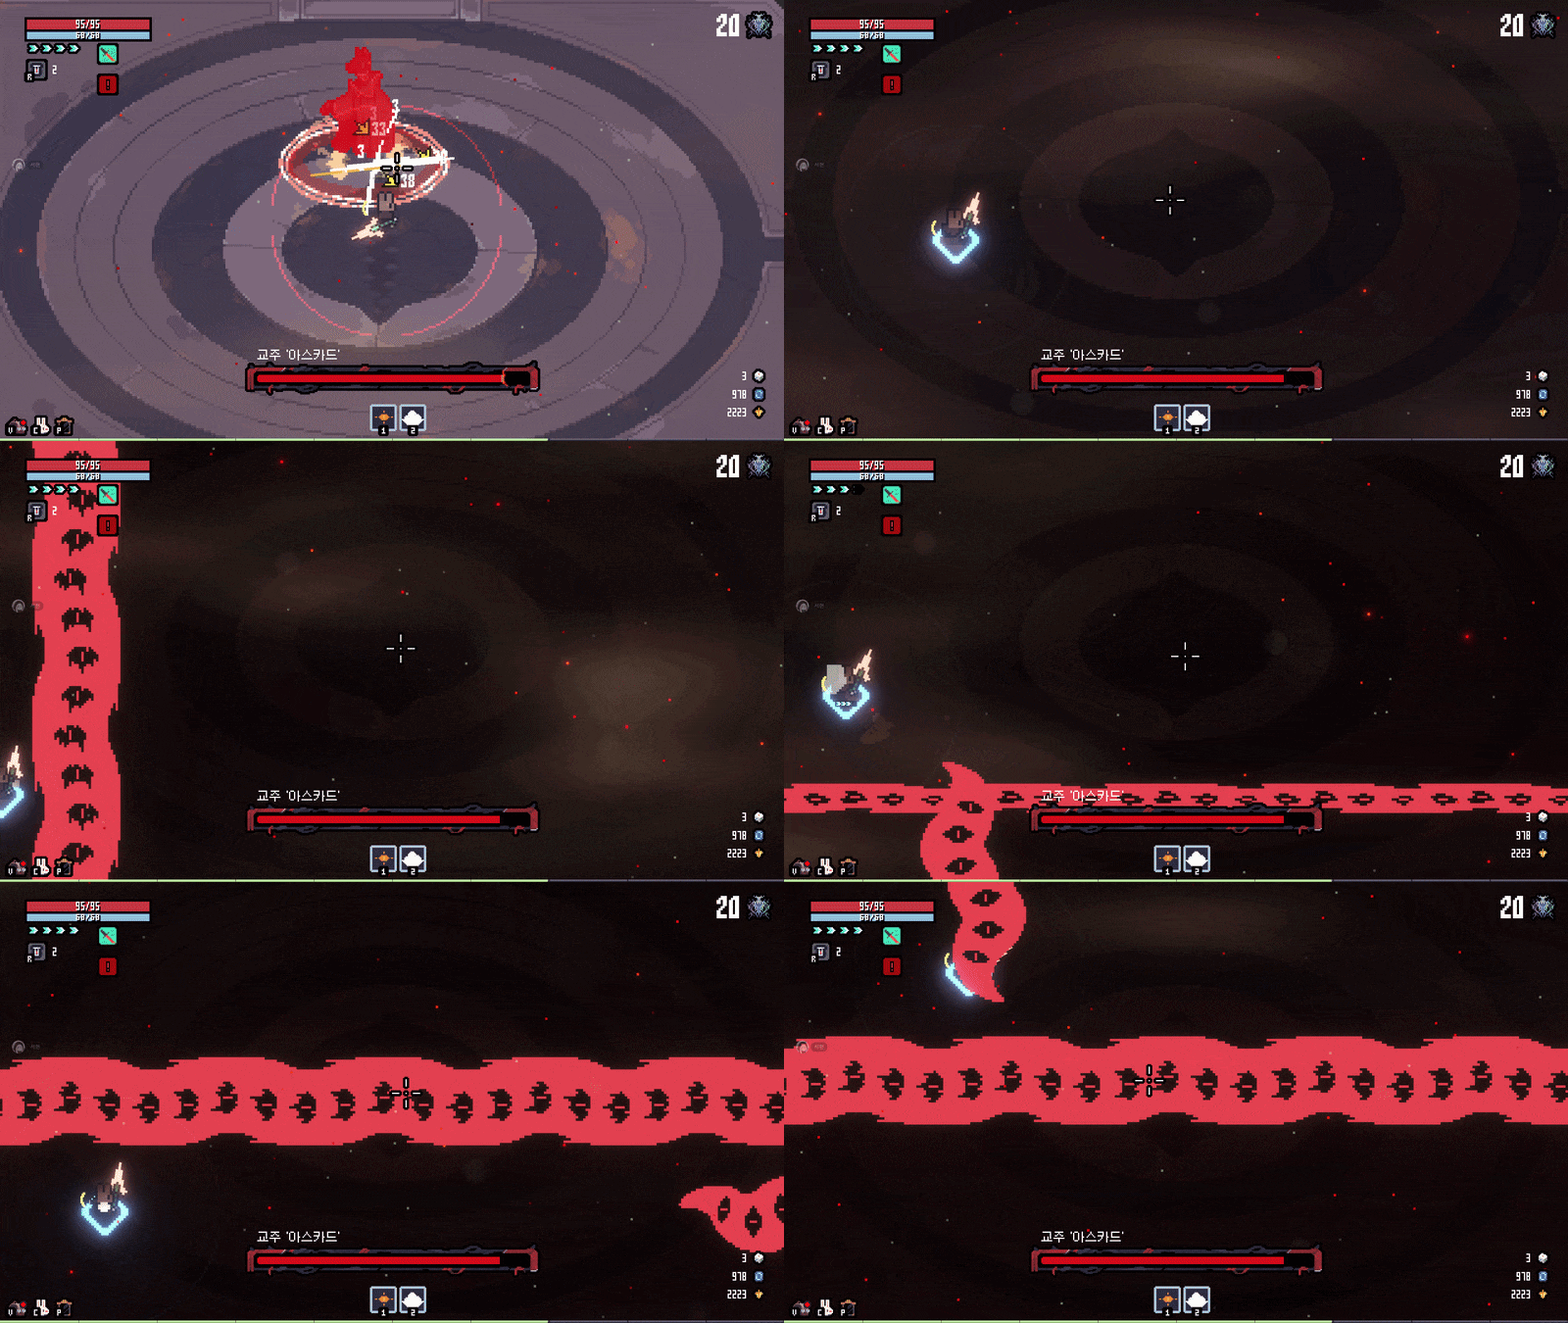
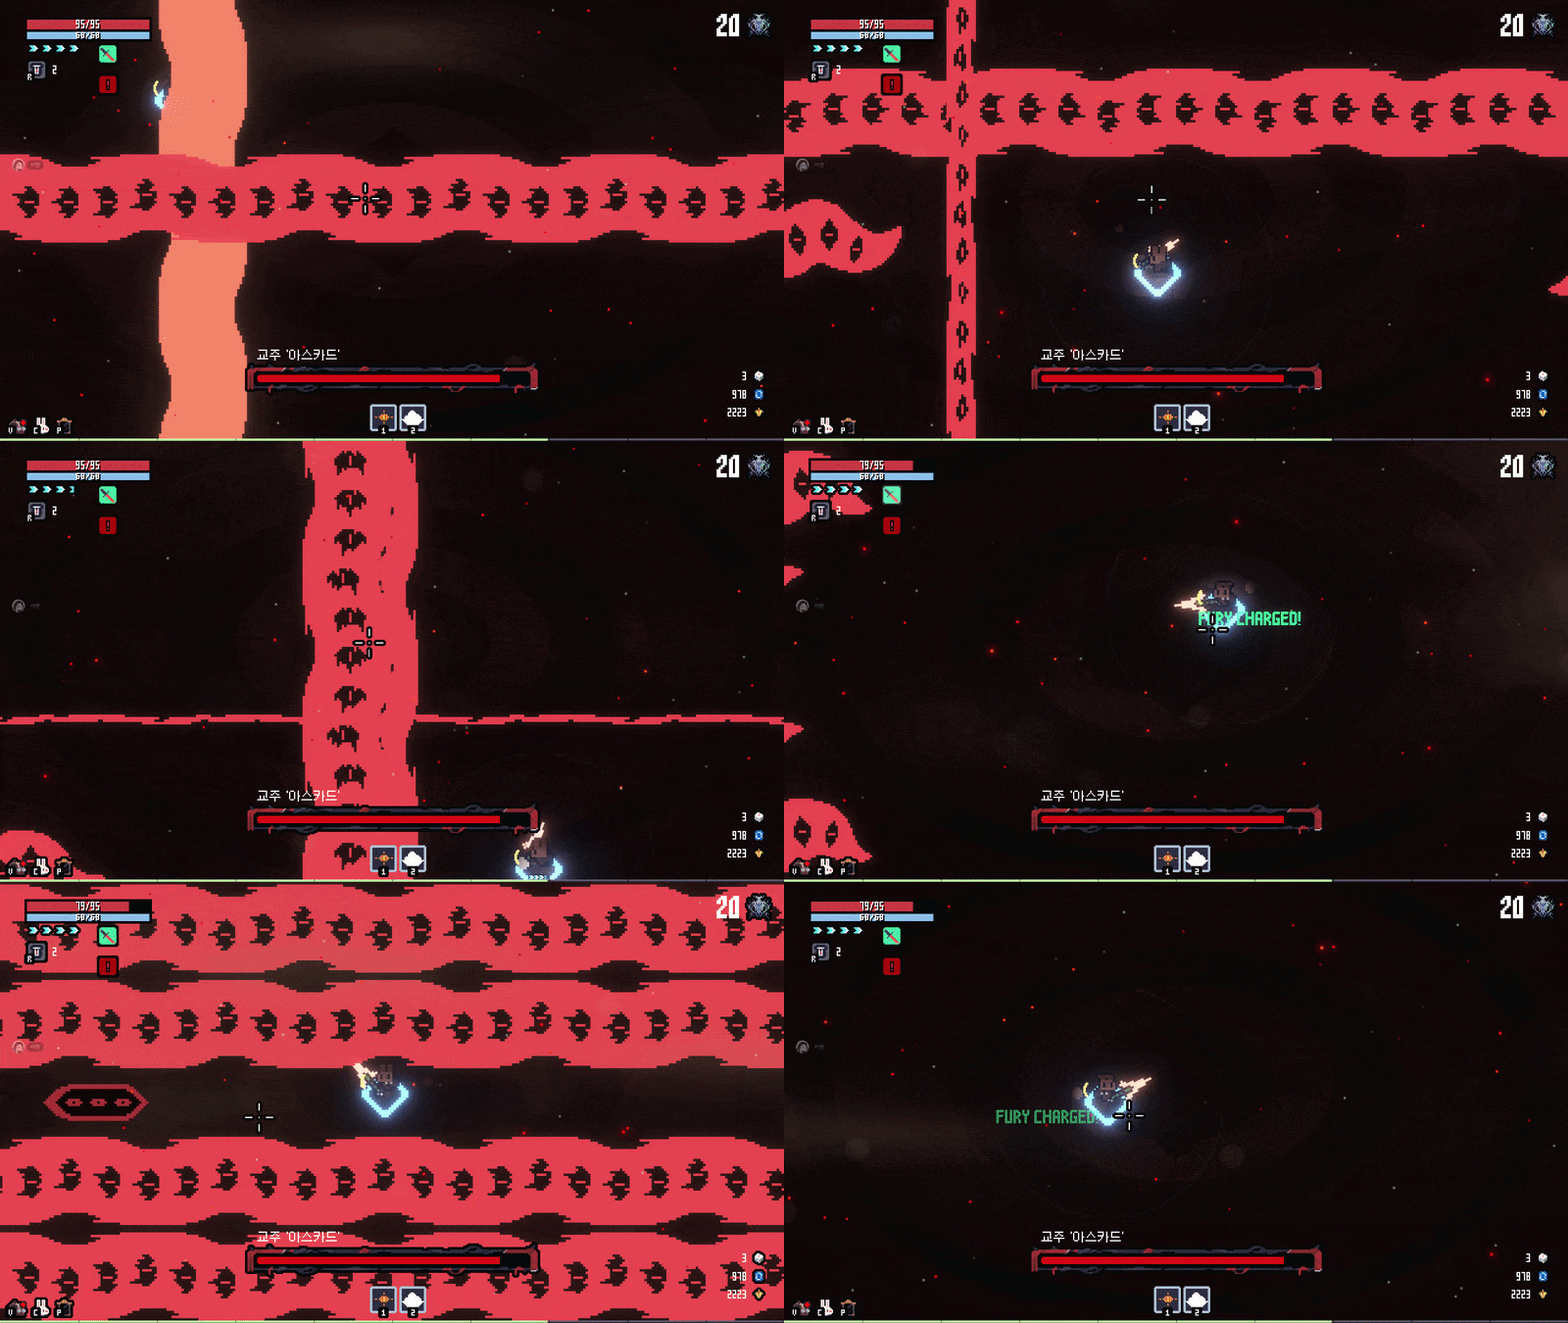
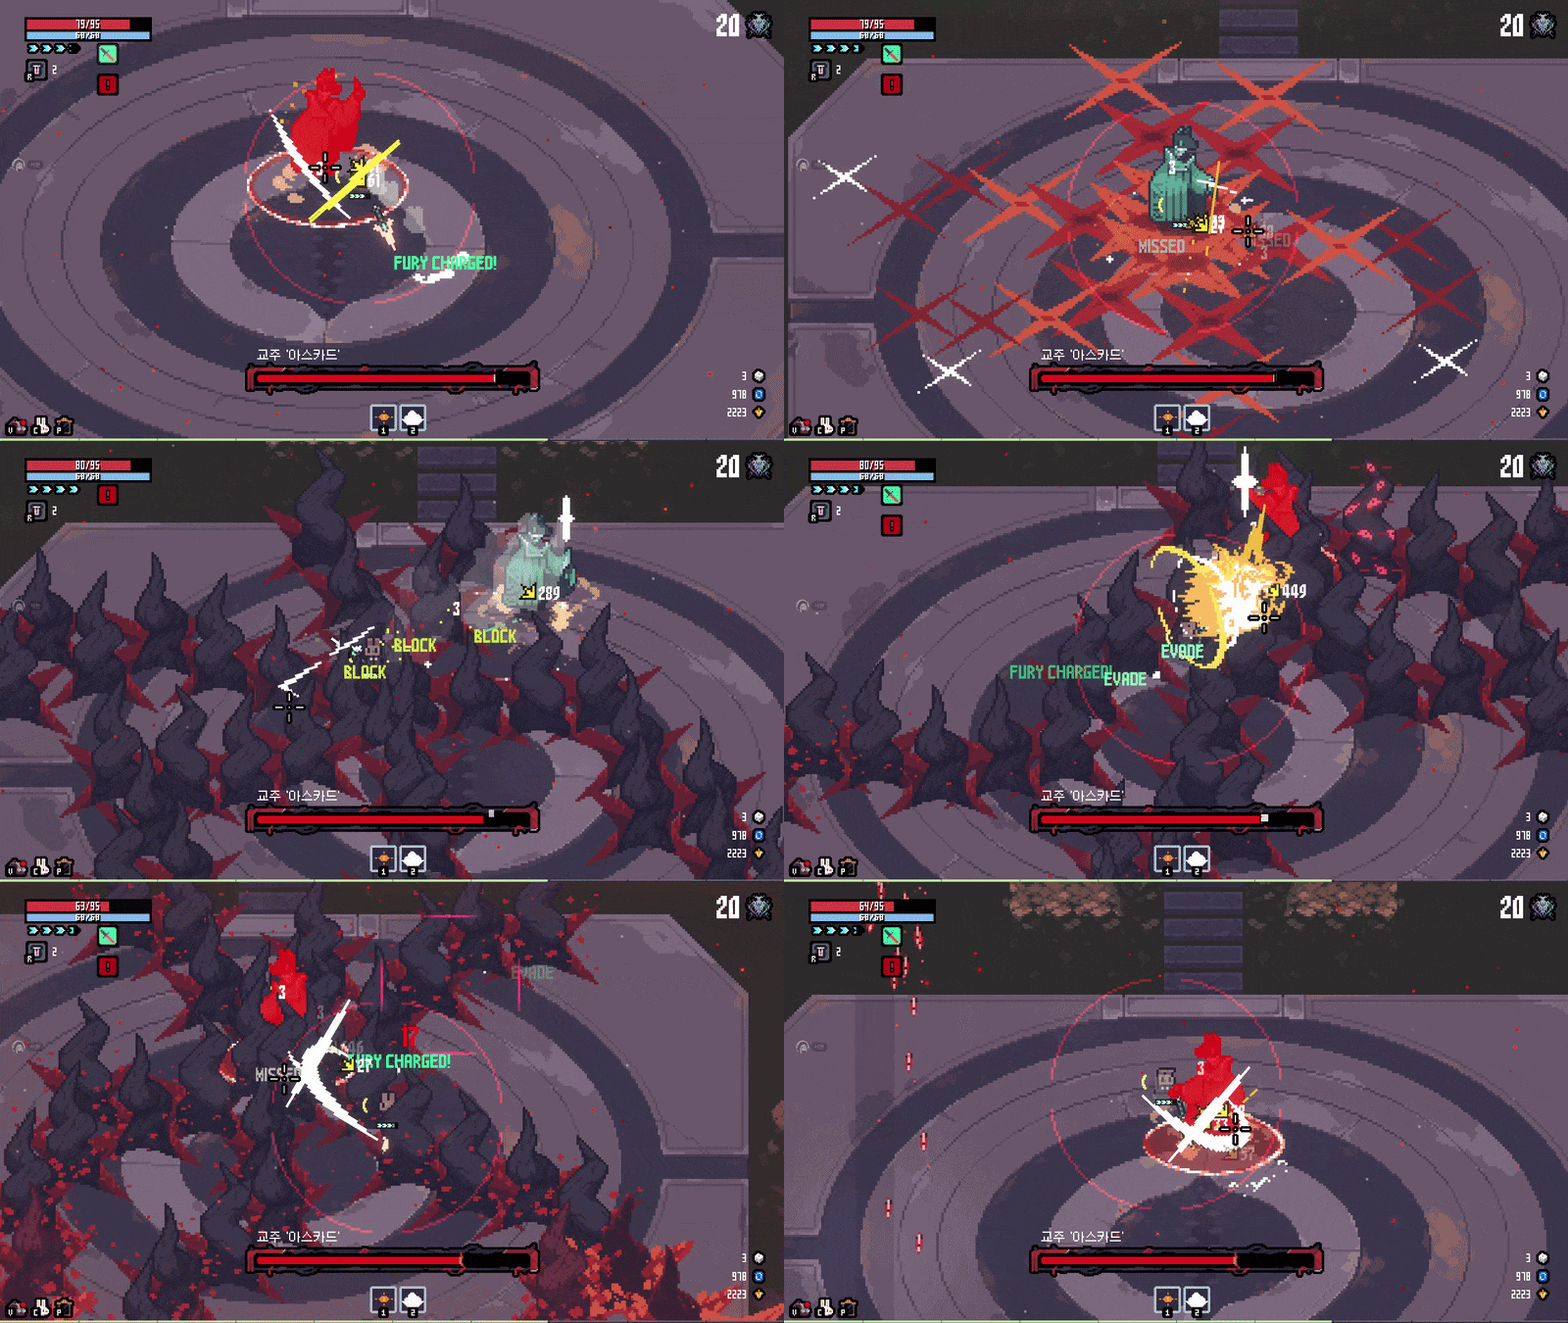
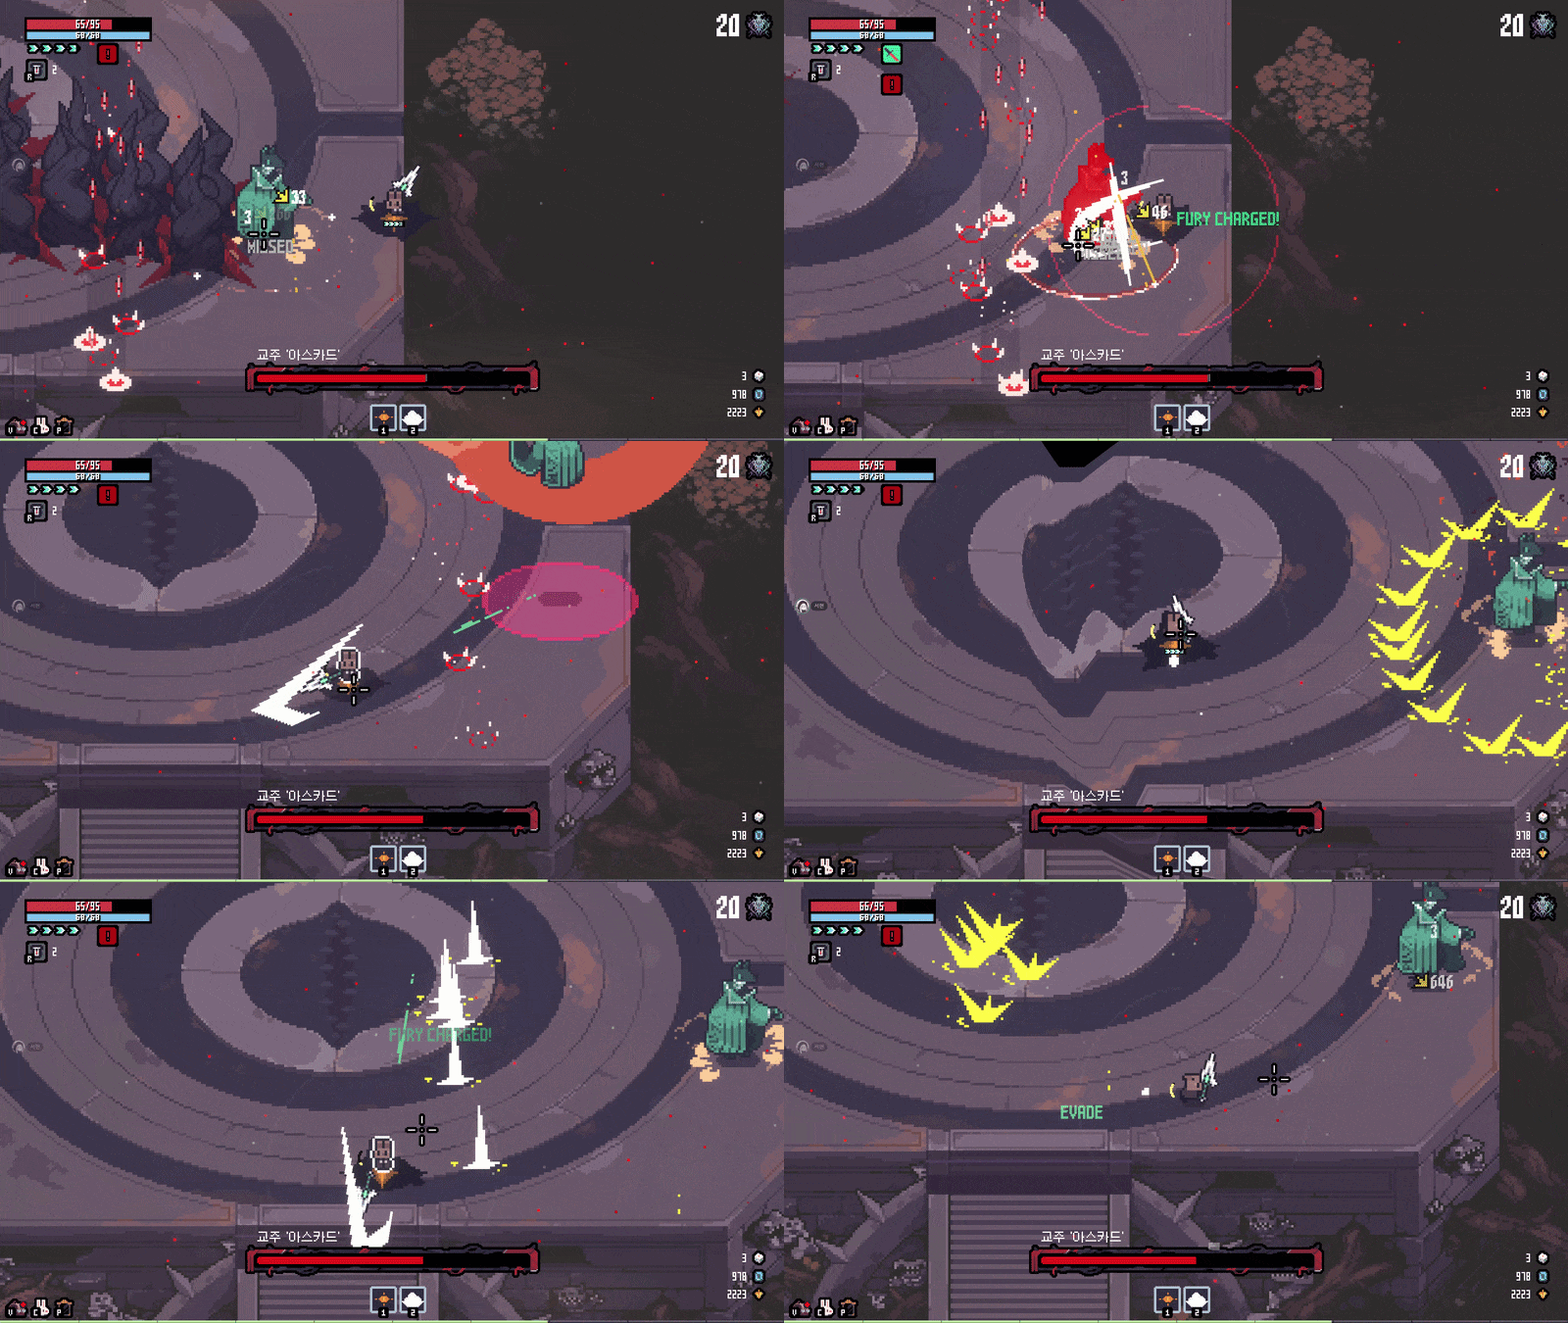
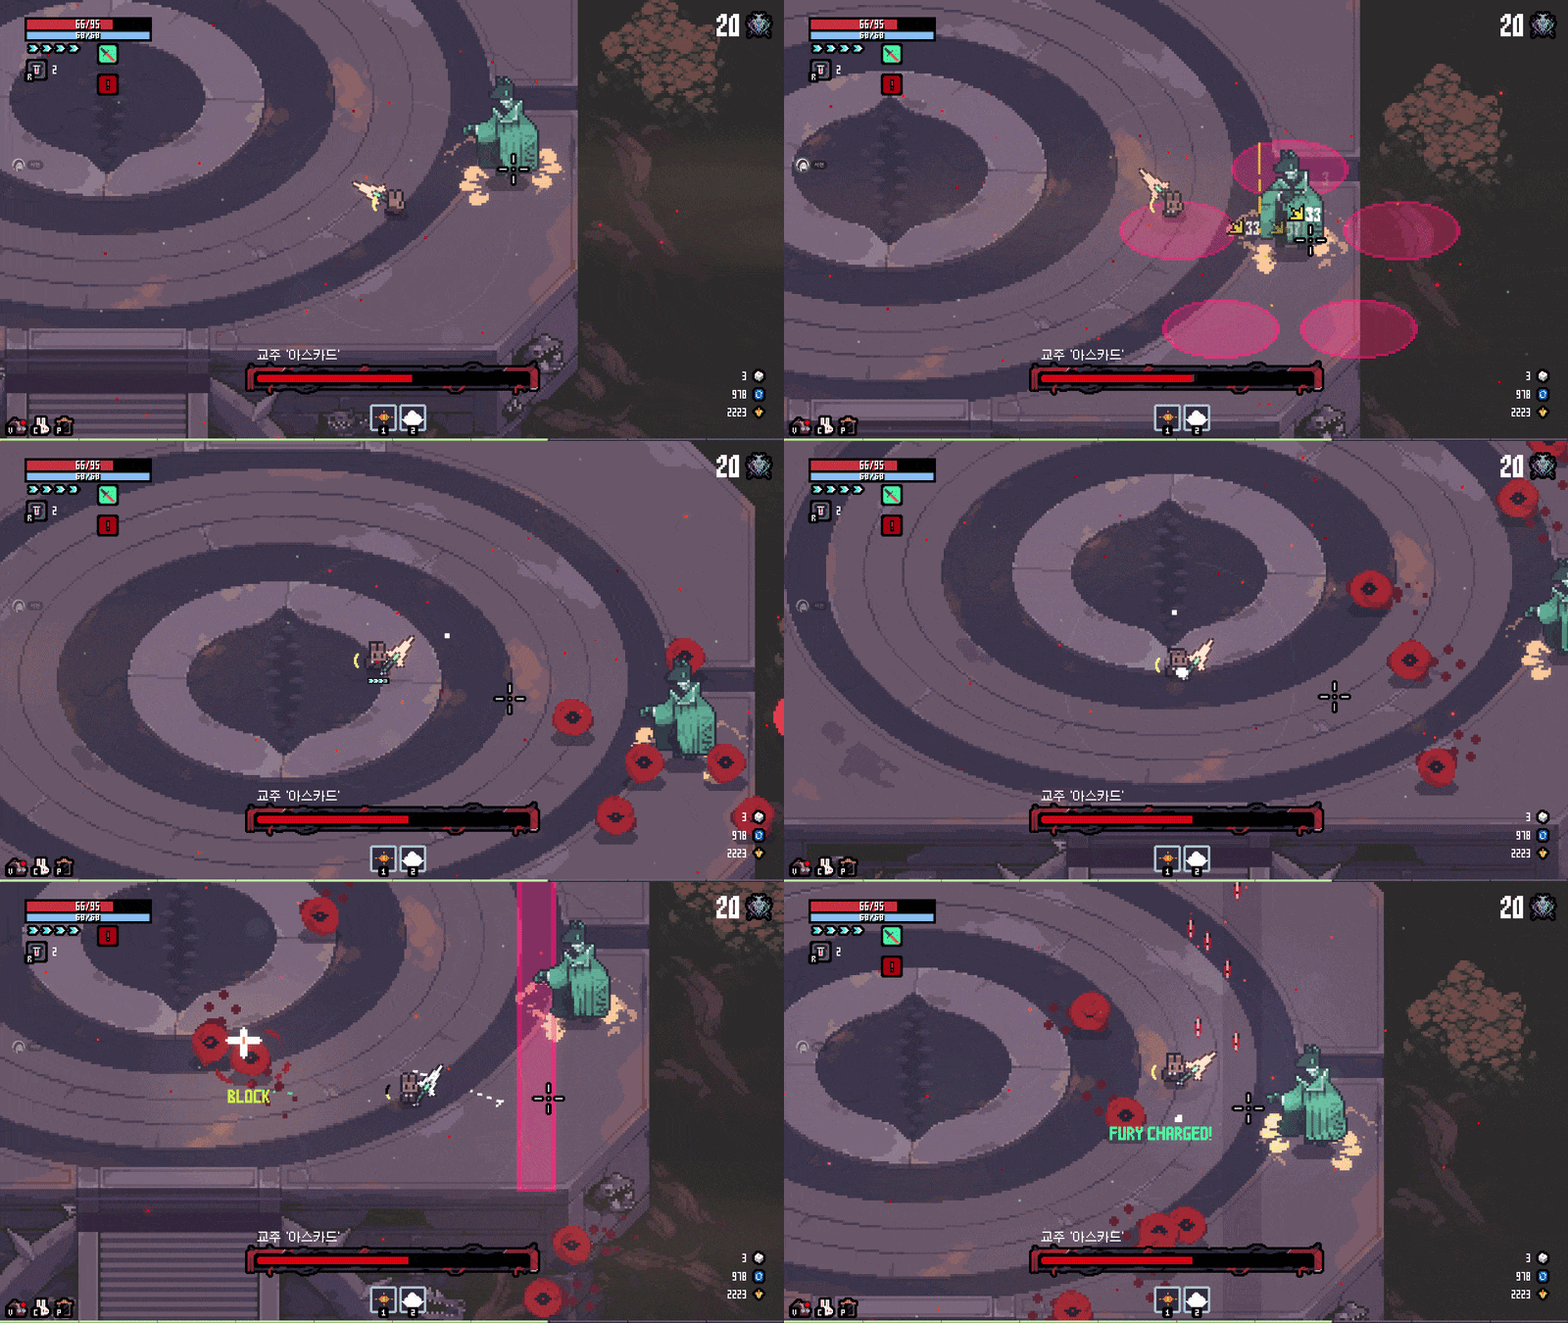
Ascard
The archive separates Chapter 1 and Chapter 2 forms, a Chapter 3 illusion, a Chapter 5 return, and eight recorded attack examples. These versions should not be merged into one fixed form.
View 11 matching references
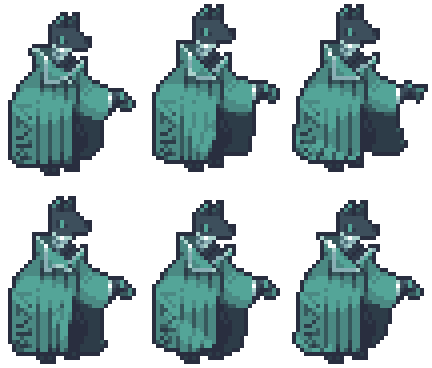
05Stage 5 - Root Cave

Cobes
The crow-shaped guardian disappears before straight and circular blade attacks, targets the player with projectiles, and summons red whirlwinds. Visible red effects do not always match the real hit judgment.
View 1 matching reference
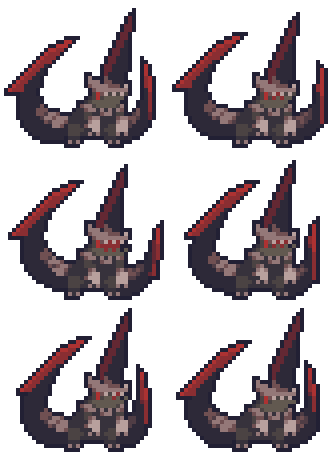
Kraz
Uses tail lines, a hidden charge with a blade afterimage, a fan-shaped pillar setup, small and large tail circles, reversal-style safe-space patterns, and four circular blade volleys.
View 1 matching reference

Qliphoth
The Chapter 5 final boss is documented as a bullet-hell encounter. Preserve movement space and treat each pattern as a sustained positioning check rather than a short punish window.
View 1 matching reference
Mini bosses

Chapter 4 story encounters

Community reference derived from NamuWiki, licensed CC BY-NC-SA 2.0 KR. Media and wording are machine-translated, and exact health, defense, damage, or timing values are intentionally omitted.
Keep the arena readable. Chasing a teleport or circling too close can place the camera and projectiles in a worse position, while standing still for a long attack can close the only retreat lane. The saved beginner material consistently supports movement first, recognition second, and damage during a known window.
The captured Boss page divides encounters into three groups: permanent bosses at the end of a stage, mini bosses that appear on a mini-boss node, and story bosses that occur in specific chapters. A Battle Stance option strengthens boss gimmicks and attack patterns, so a pattern reference should always be read with the current run’s difficulty options in mind.
Match the build to encounter access
Ranged weapons can maintain pressure when the floor makes melee access unreliable, but Crossbow still needs safe firing and reload windows. Greatsword can punish a large recovery with broad attacks, yet its own recovery makes uncertain openings dangerous. Dagger needs a clean way into and out of close range, while Sword and Shield can use guard timing to stabilize unfamiliar pressure.
Status effects, area attacks, and control can matter against multi-part or interruptible encounters. The archive describes Erma’s head and hands as separate targetable hitboxes that share the golem health pool, making broad attacks useful when they connect with more than one part; it also says freeze or stun can interrupt documented Pantaxis actions. The current client determines whether a particular effect applies in the version being played.
Early-stage pattern lessons
Blackhand Mogdi is documented as a two-phase first boss. The important lesson is to recognize the transition instead of assuming the first cycle continues unchanged. Ordner uses five aggressive bomb patterns, so the player needs open floor and should identify placement before extending a melee sequence.
Haj is recorded with three eyes that have separate health and different functions. The right eye creates bushes, the middle produces rotating lasers, and the left uses roots. Target choice changes which pressure remains in the arena, making the encounter a control problem as well as a damage race.
Mid-stage movement checks
Lataka combines concentric and fan-shaped barrages with rocks and summons. Community notes call the encounter difficult for melee and favor ranged uptime, but a ranged build still needs space to read the next barrage. Lerid appears as the alternate Stage 2 boss in the captured archive, with a locally saved reference animation.
Erma is a three-phase golem whose head and hands are separate targetable hitboxes sharing the golem health pool. Pantaxis moves against walls, creates projectiles while invulnerable, uses a rotating laser, and charges. These encounters punish attacking the visible target without checking whether it is currently vulnerable or whether the arena is about to change.
Late-stage pressure
The archive describes chapter-dependent versions of Ascard under Stage 4. Cobes then adds teleporting blade attacks, projectiles, and whirlwinds. Waiting for the teleport destination and follow-up is safer than committing to the place where Cobes began the animation.
Kraz uses fast, wide attacks including tail, charge, fan, and circular patterns. Qliphoth is recorded as the Chapter 5 final boss and relies on dense bullet-hell pressure. Both demand sustained movement discipline; a high-damage build does not compensate for losing the retreat lane.
Mini bosses and story encounters
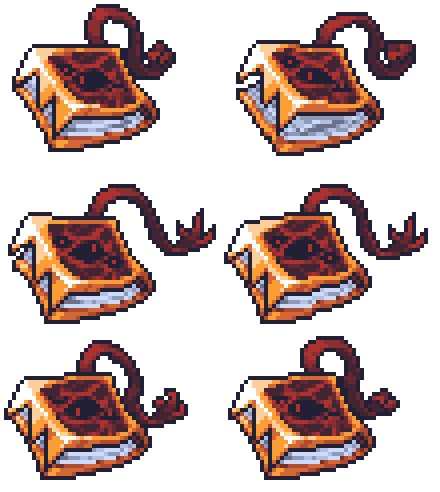
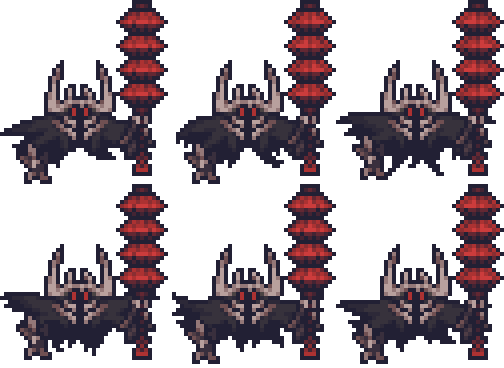
The archive lists Skeleton Goat, Black Panther Assassin, Demonized Grimoire, and Spinning Rod Demon as mini bosses for Stages 1 through 4. These encounters should be treated as route checks because they consume health and attention before the main boss. Preserve enough resources to recover rather than spending the entire run to win one elite room quickly.
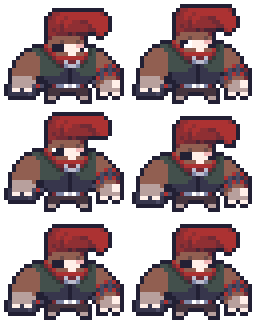
Prison Warden and Core appear in the Chapter 4 story section. Core is described as an invincible story encounter, so the player should follow the narrative objective rather than assume damage is the solution. This page does not invent a kill method or health value for an encounter the source explicitly marks as invulnerable.
Version limits for boss data
The translated source contains health, defense, and other numbers, but those values are deliberately omitted here. They are balance-sensitive, translation can distort labels, and the local archive does not prove they match the current English build. Pattern shape and encounter identity are more durable aids than an old stat line.
Use each animation as a recognition reference, not frame-perfect timing proof. GIF playback speed, capture conditions, and later patches can alter how a pattern appears. When the live boss disagrees with the archive, trust the current animation and tooltip.